Armies of Parade 2016: Krieg Trench Board
There’s some additional amazing photos of the board over on the official Armies on Parade blog alongside some other great entries and the competition winners. Sadly I didn’t place in the top three, however I was invited to have the board guest displayed at the Warhammer World Exhibition Centre. You’ll be able to see it there from Nov 12th 2016 – Feb 23rd 2017. Full details over at the Warhammer World Events page.
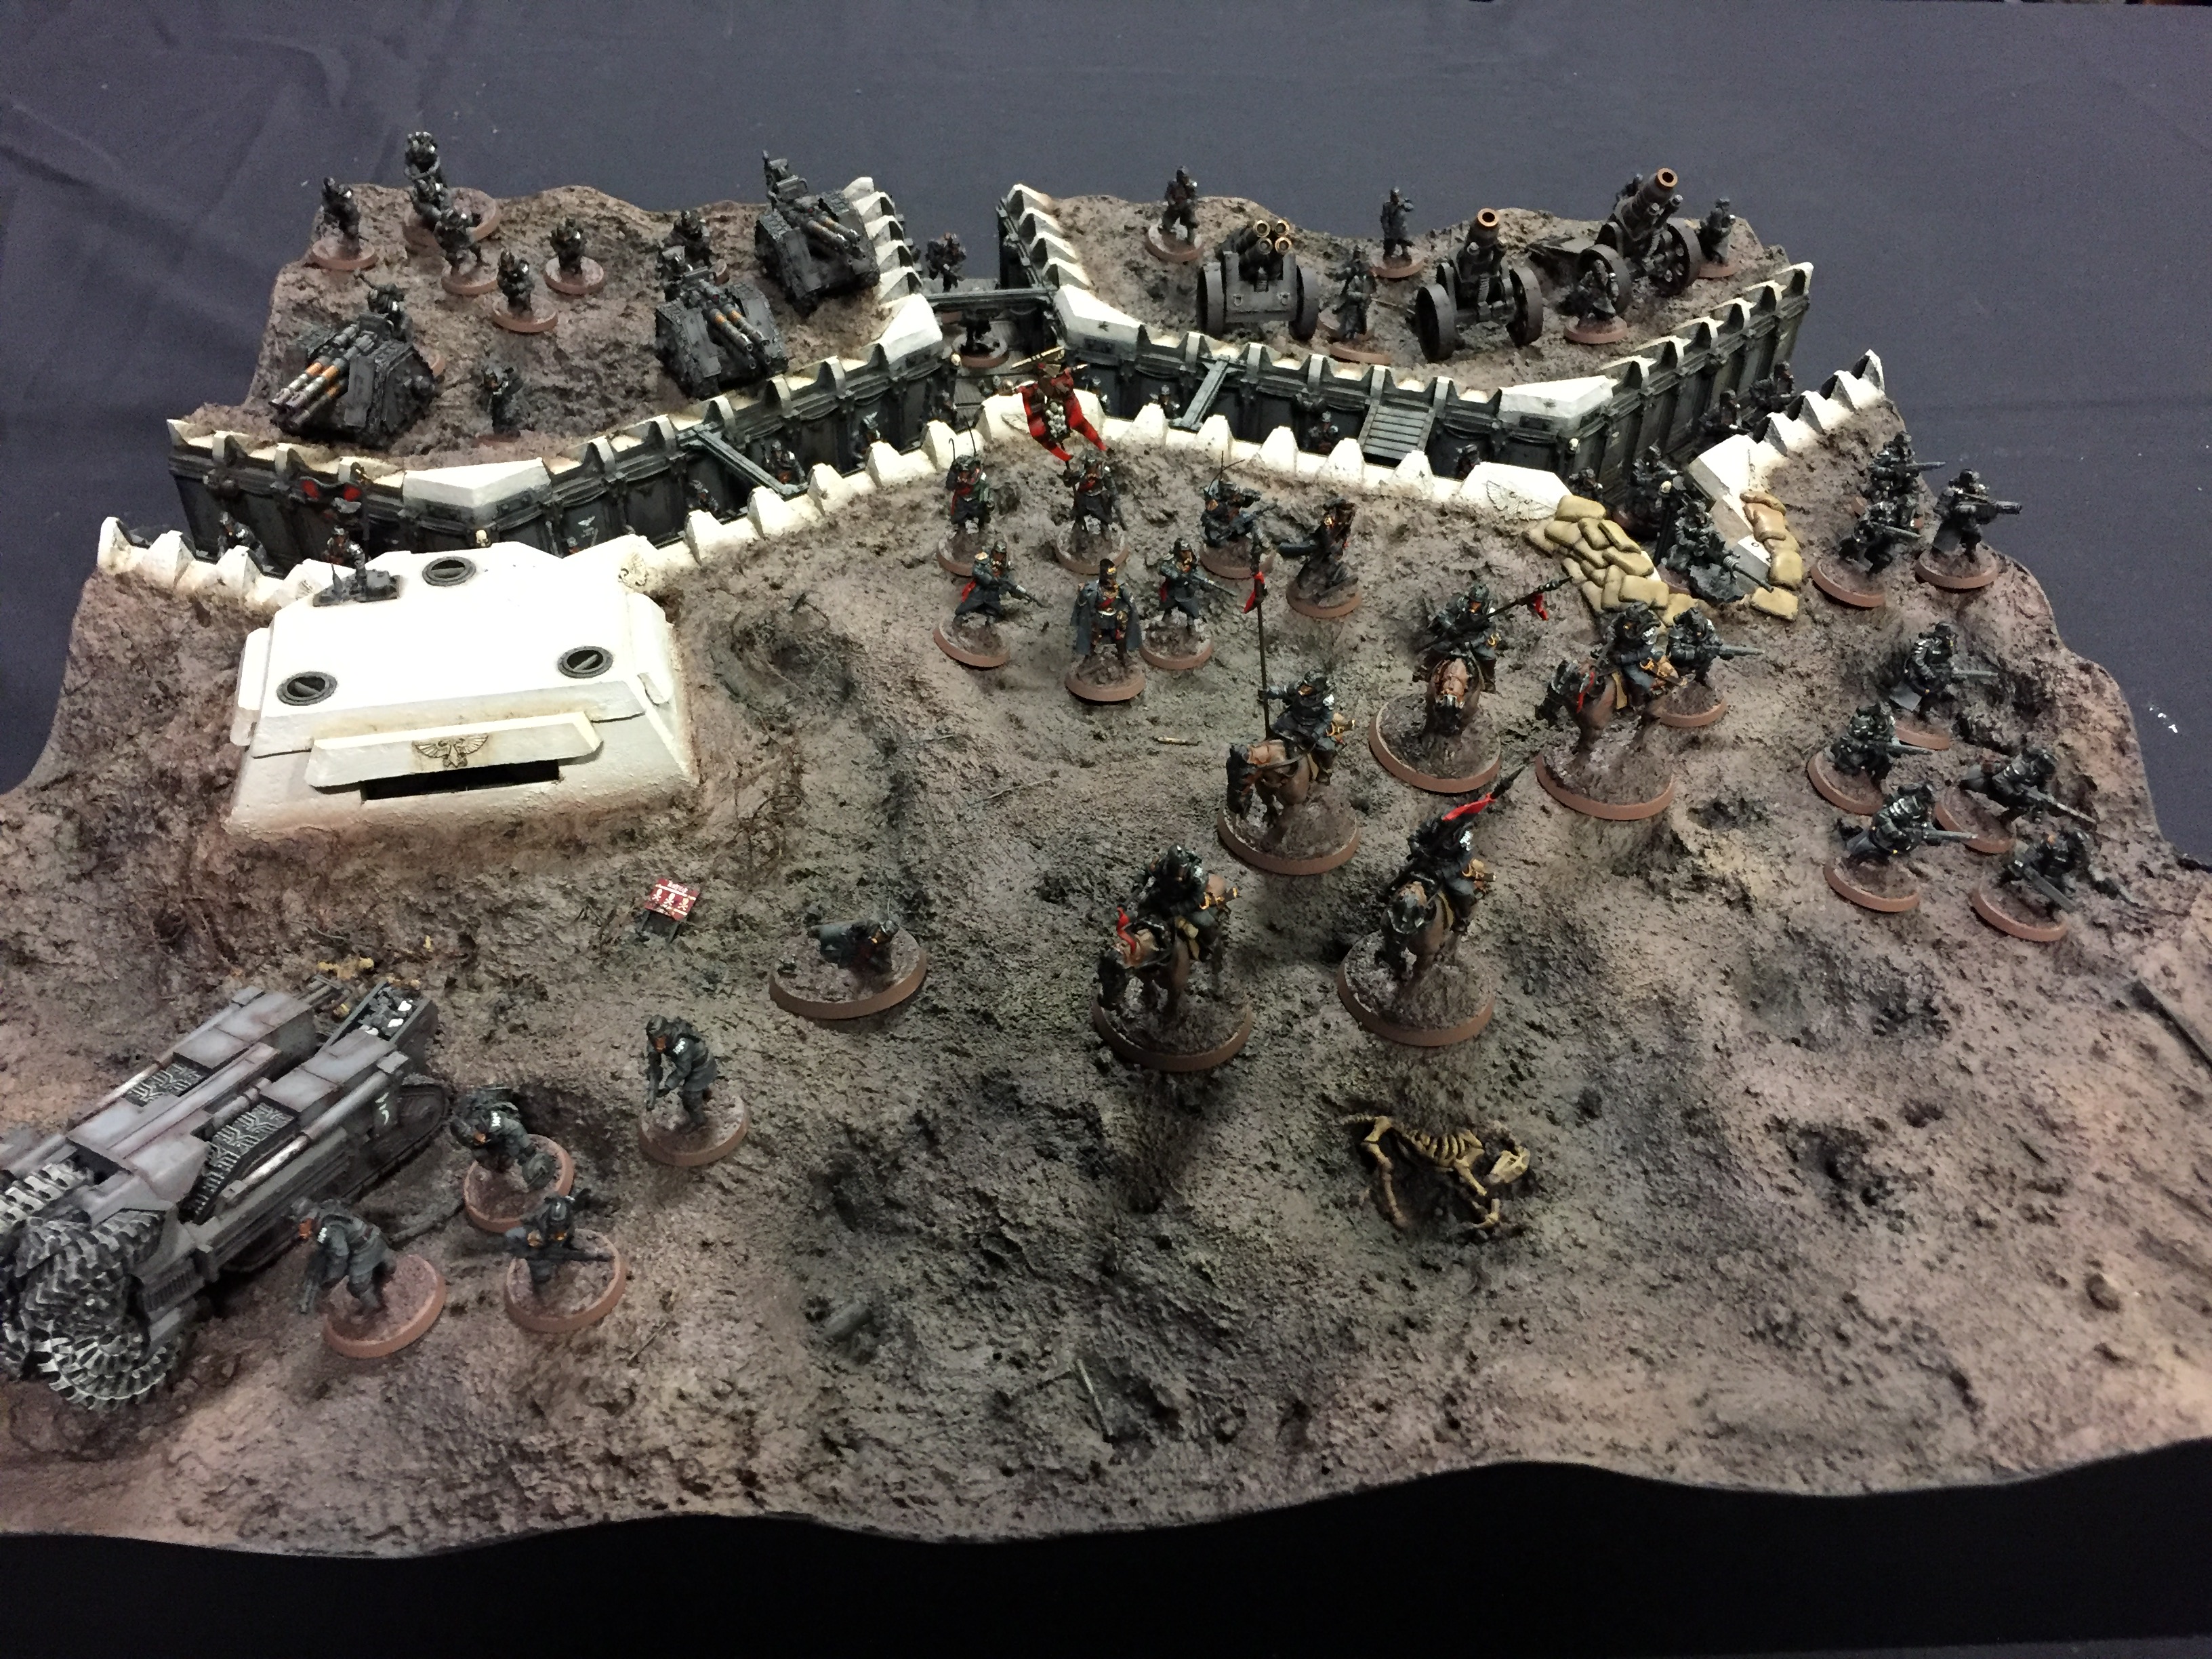
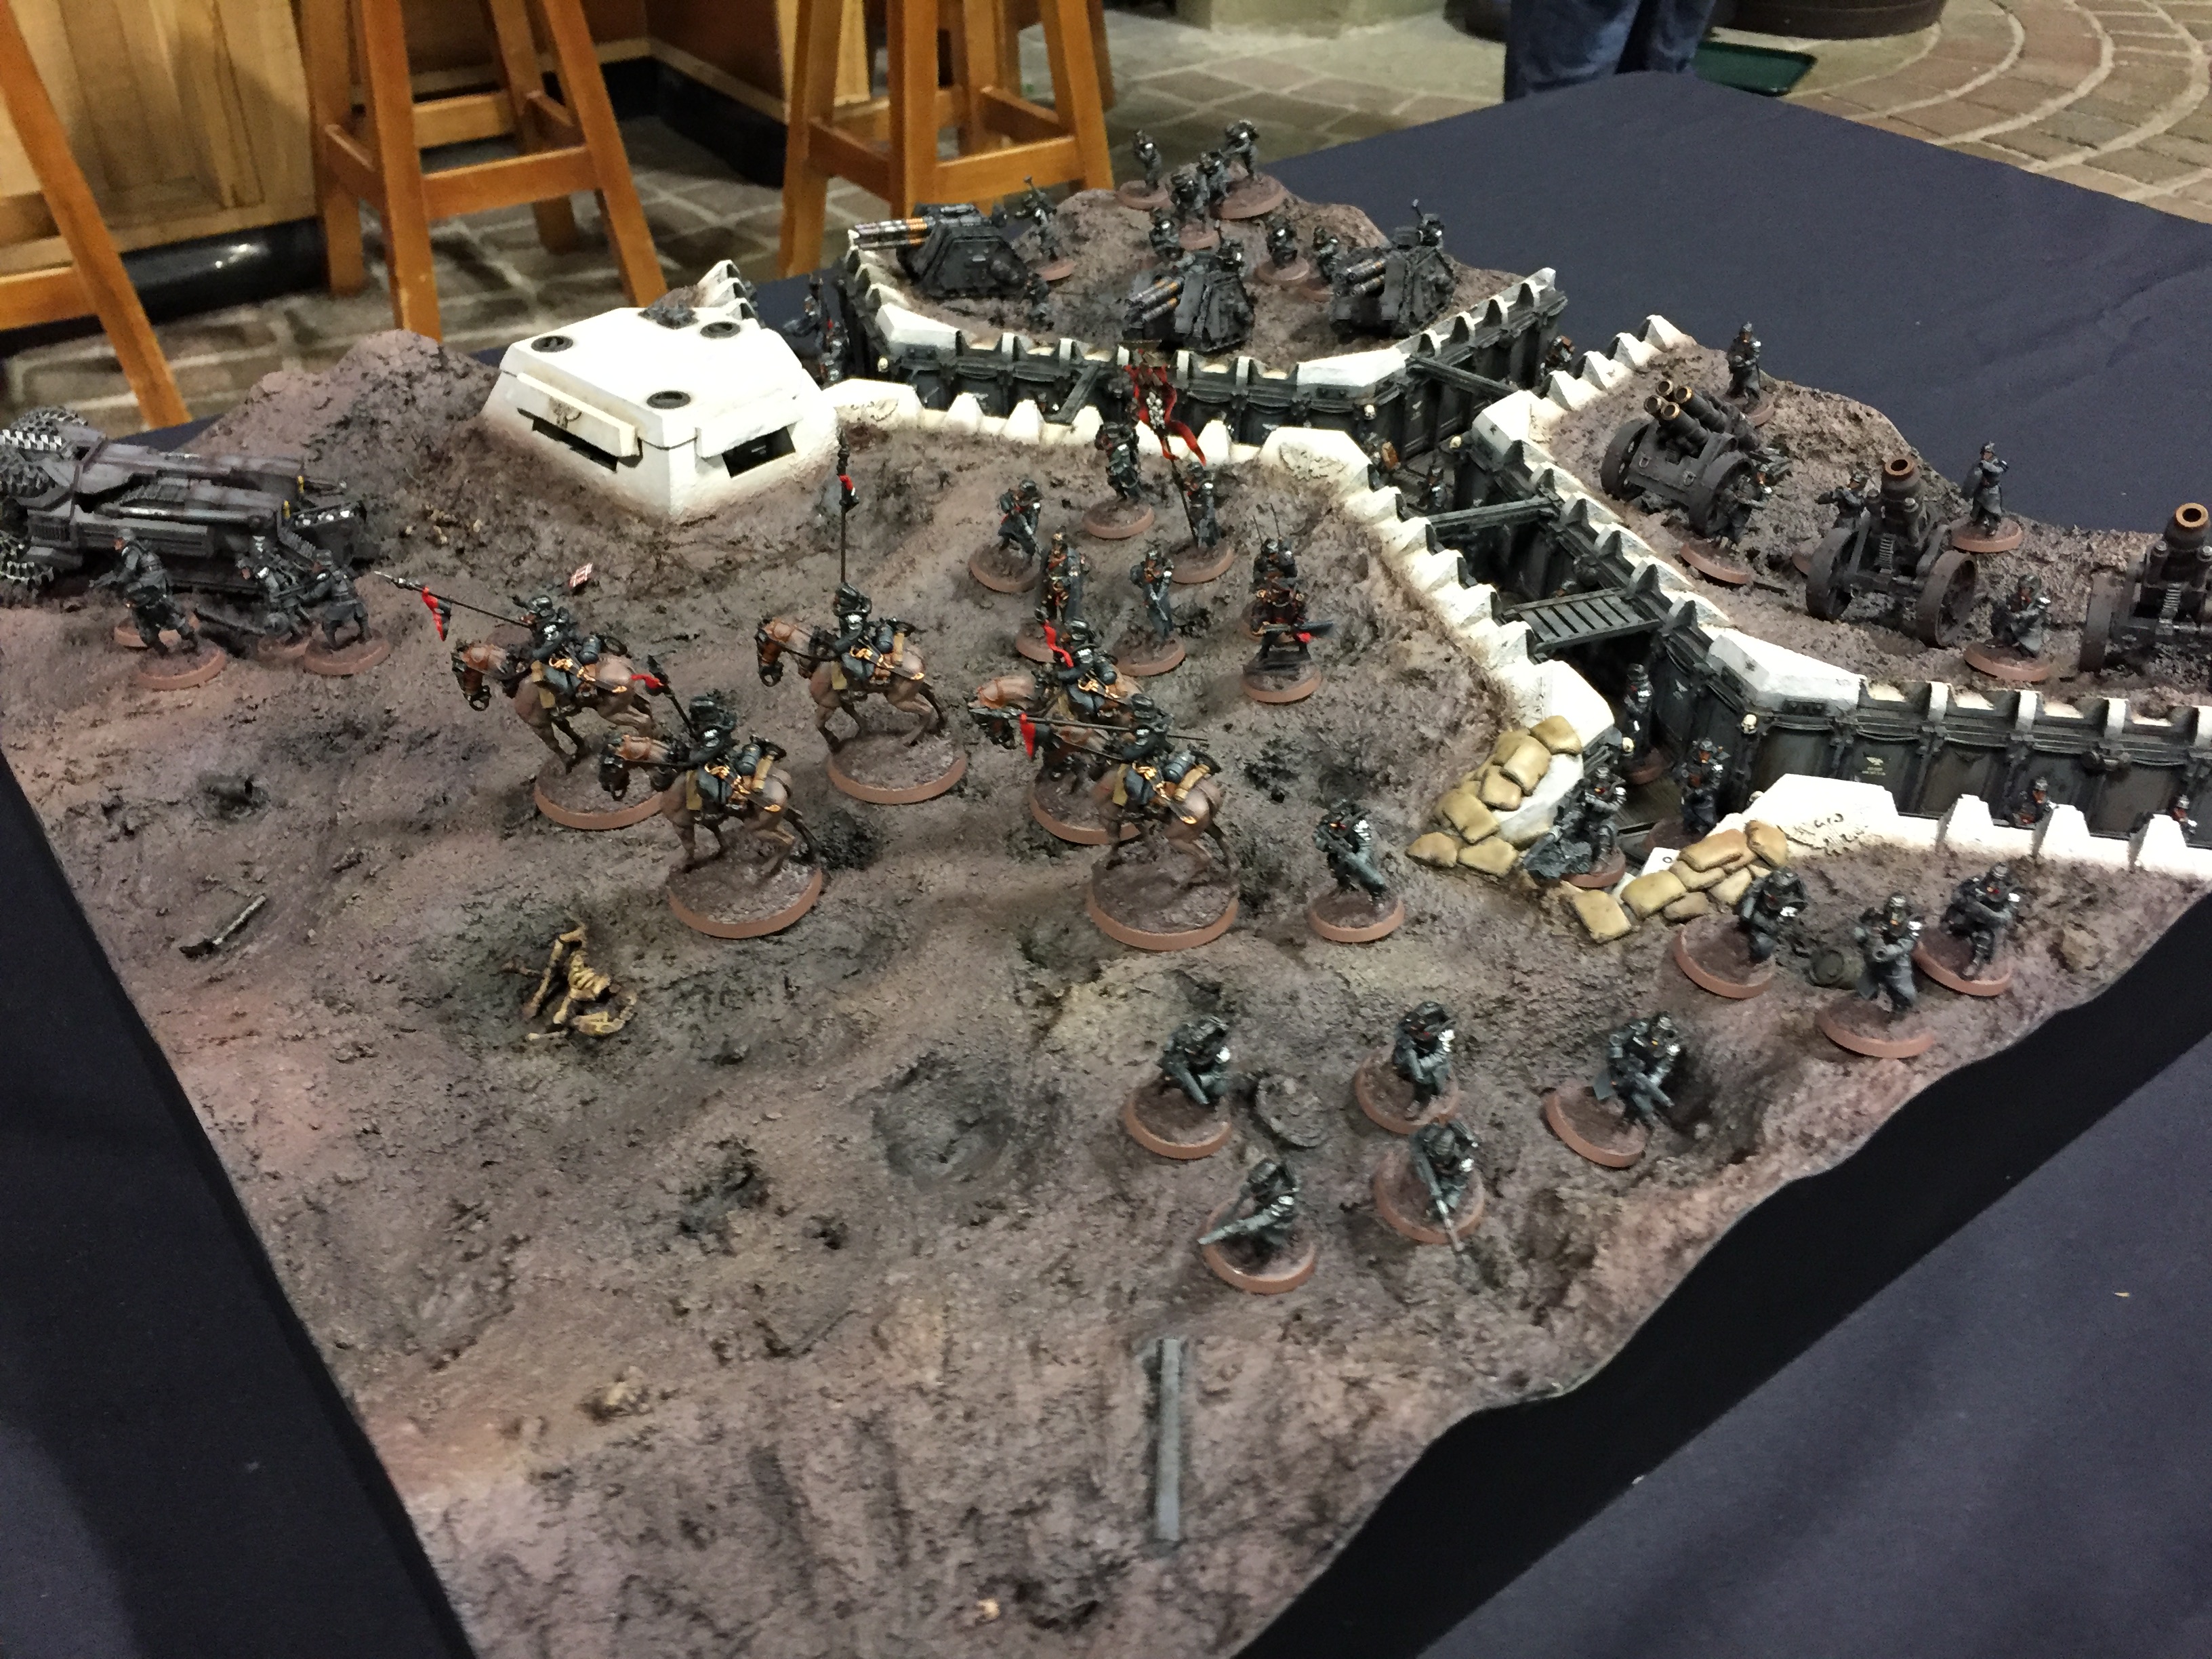
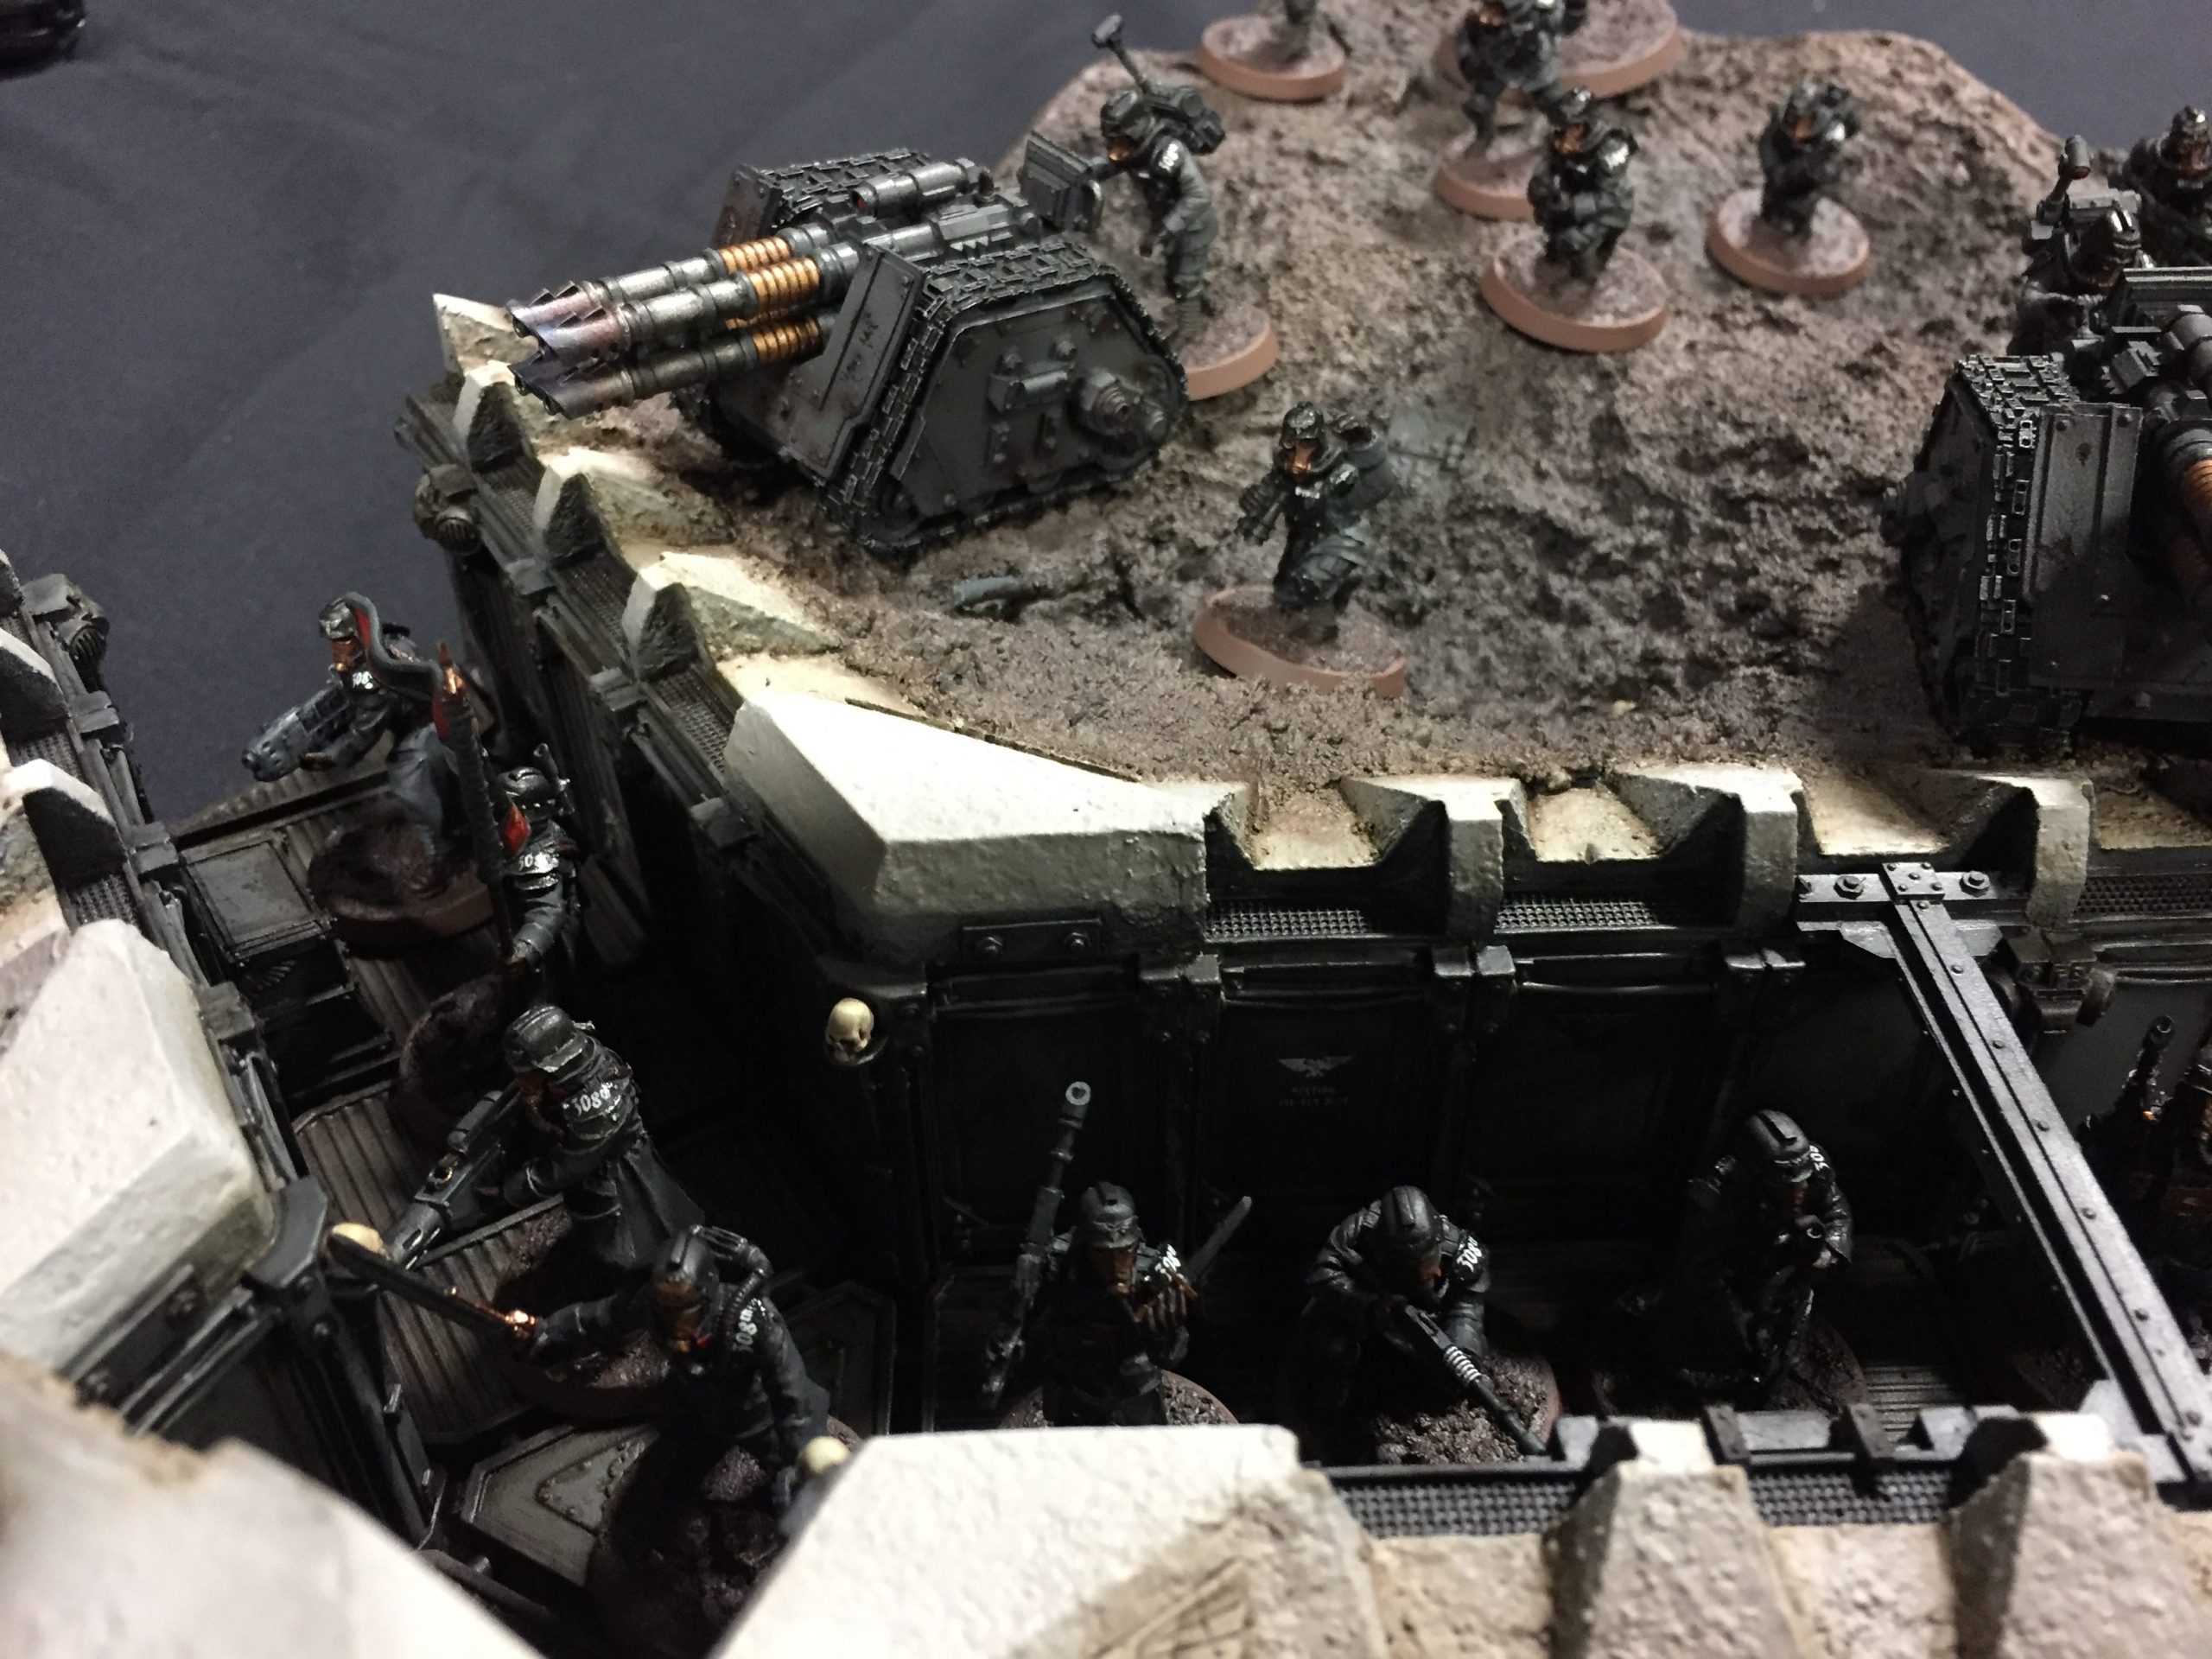
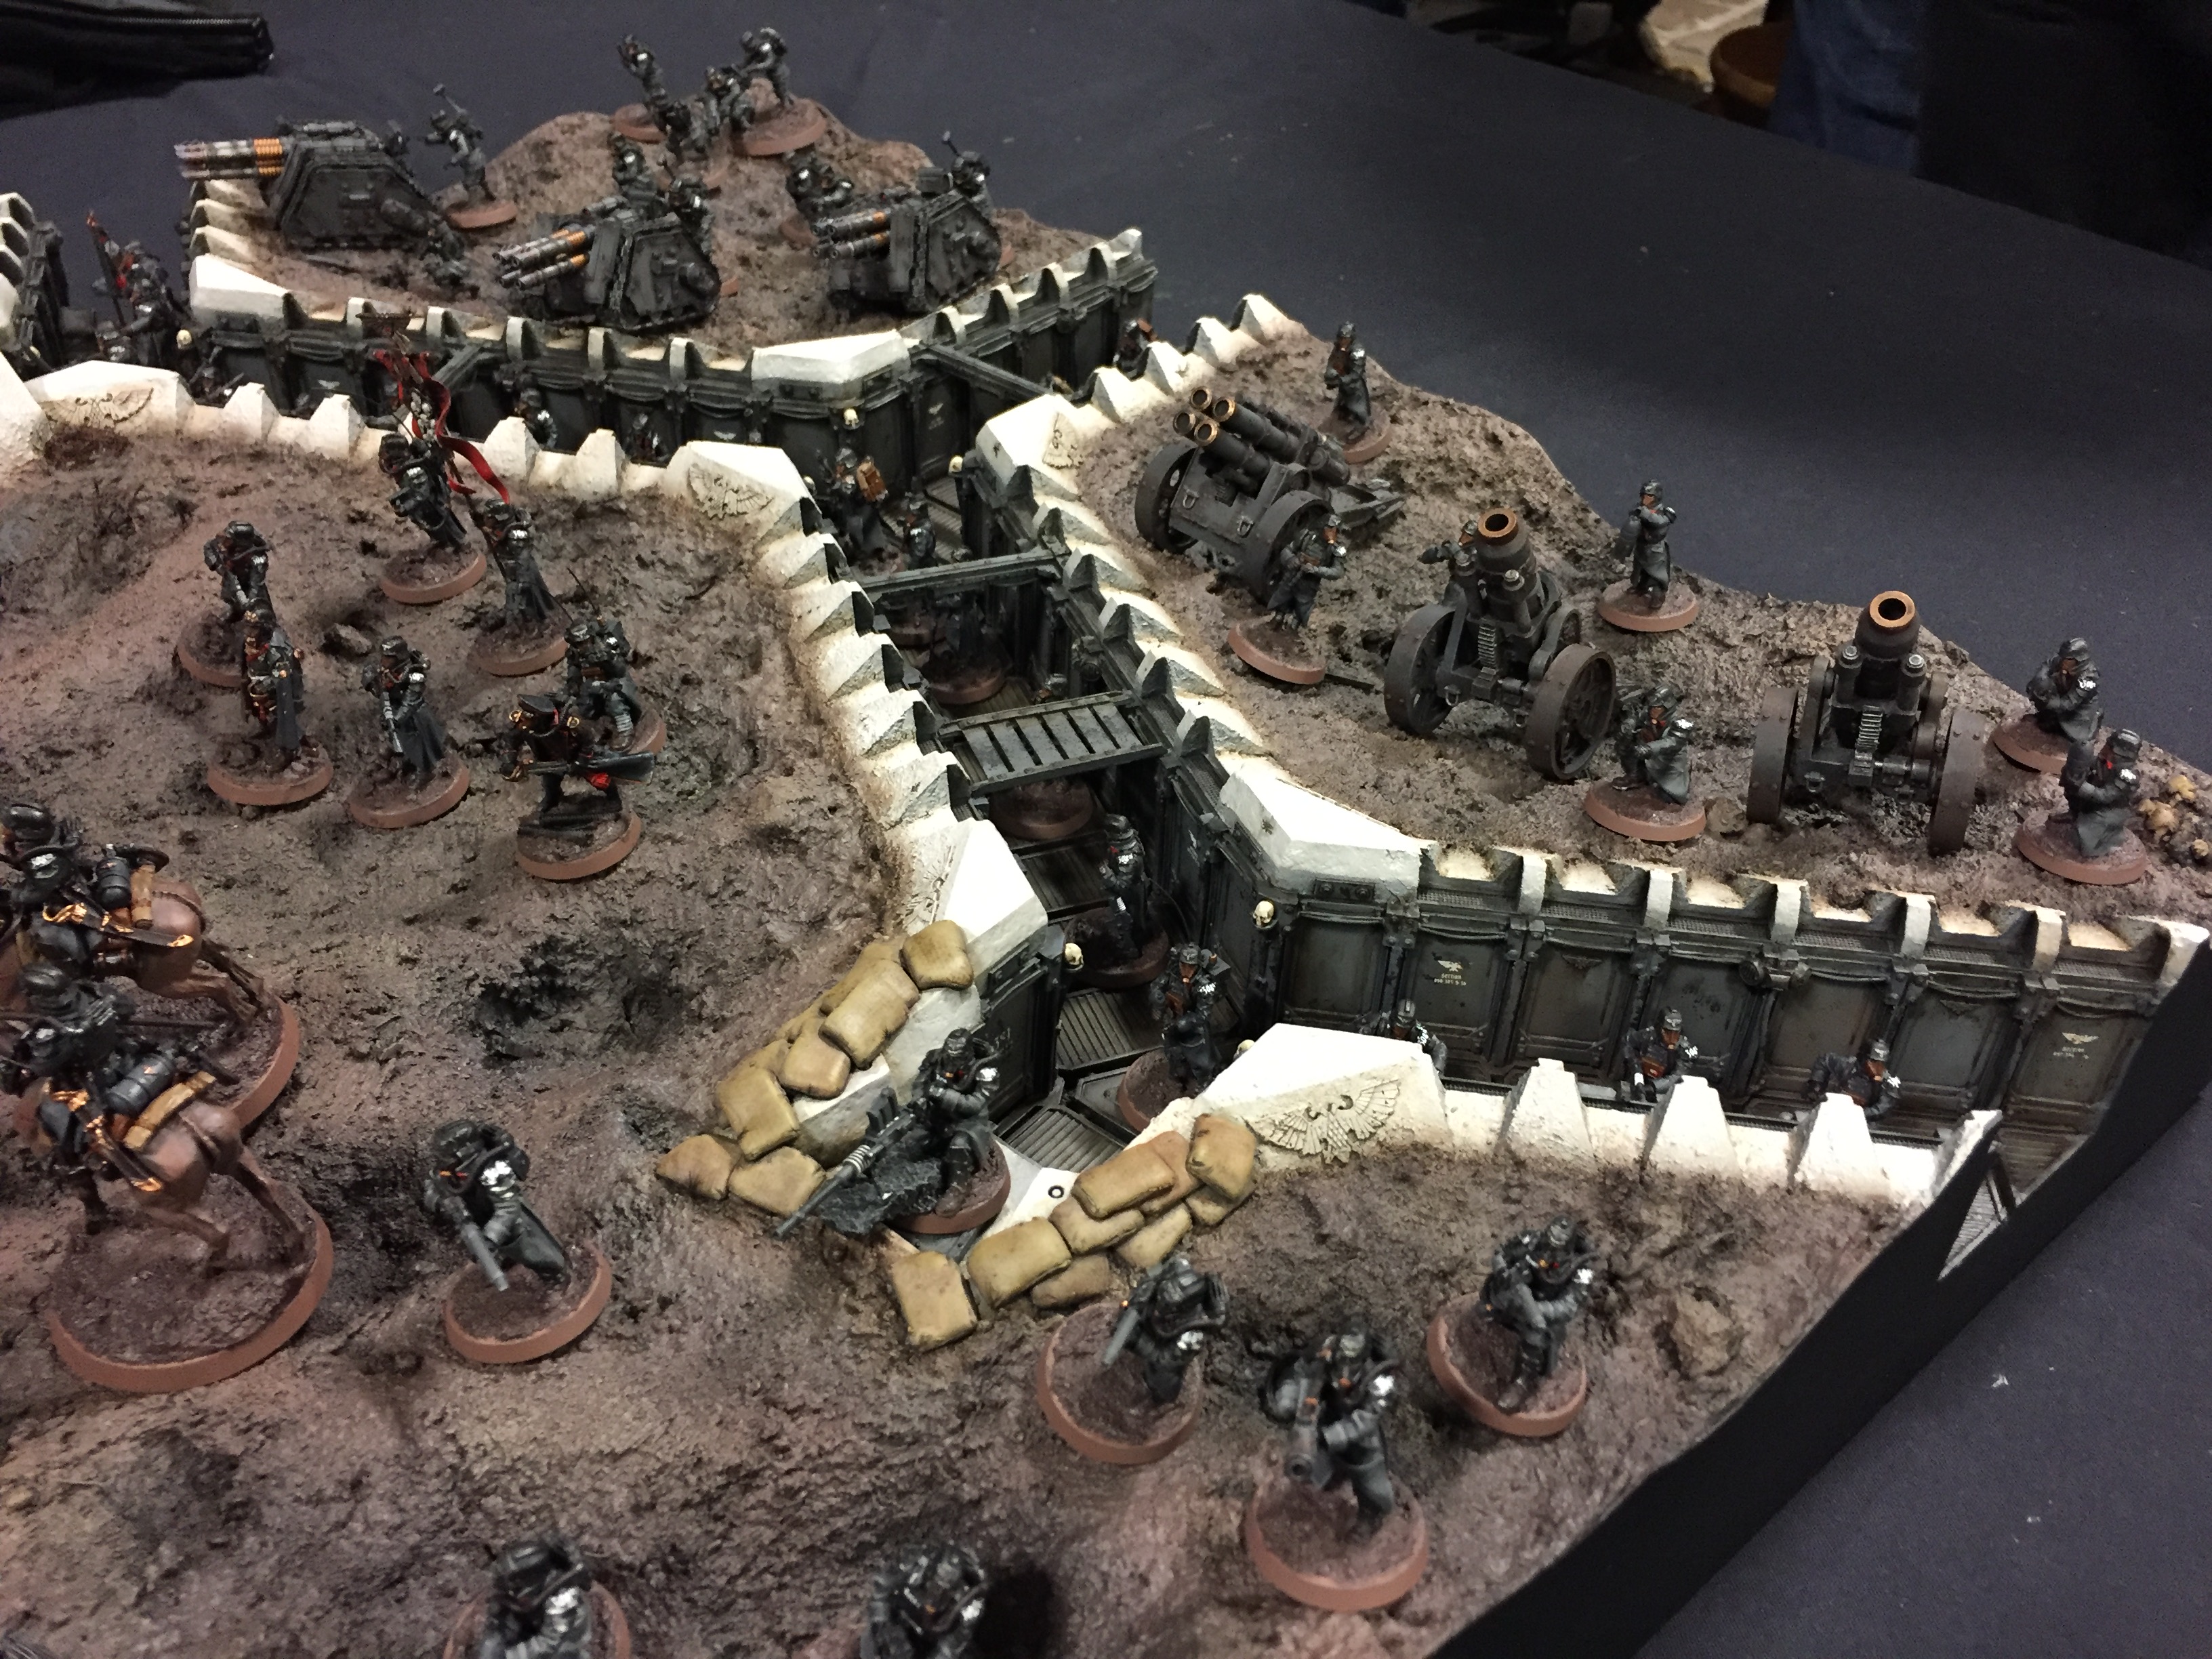
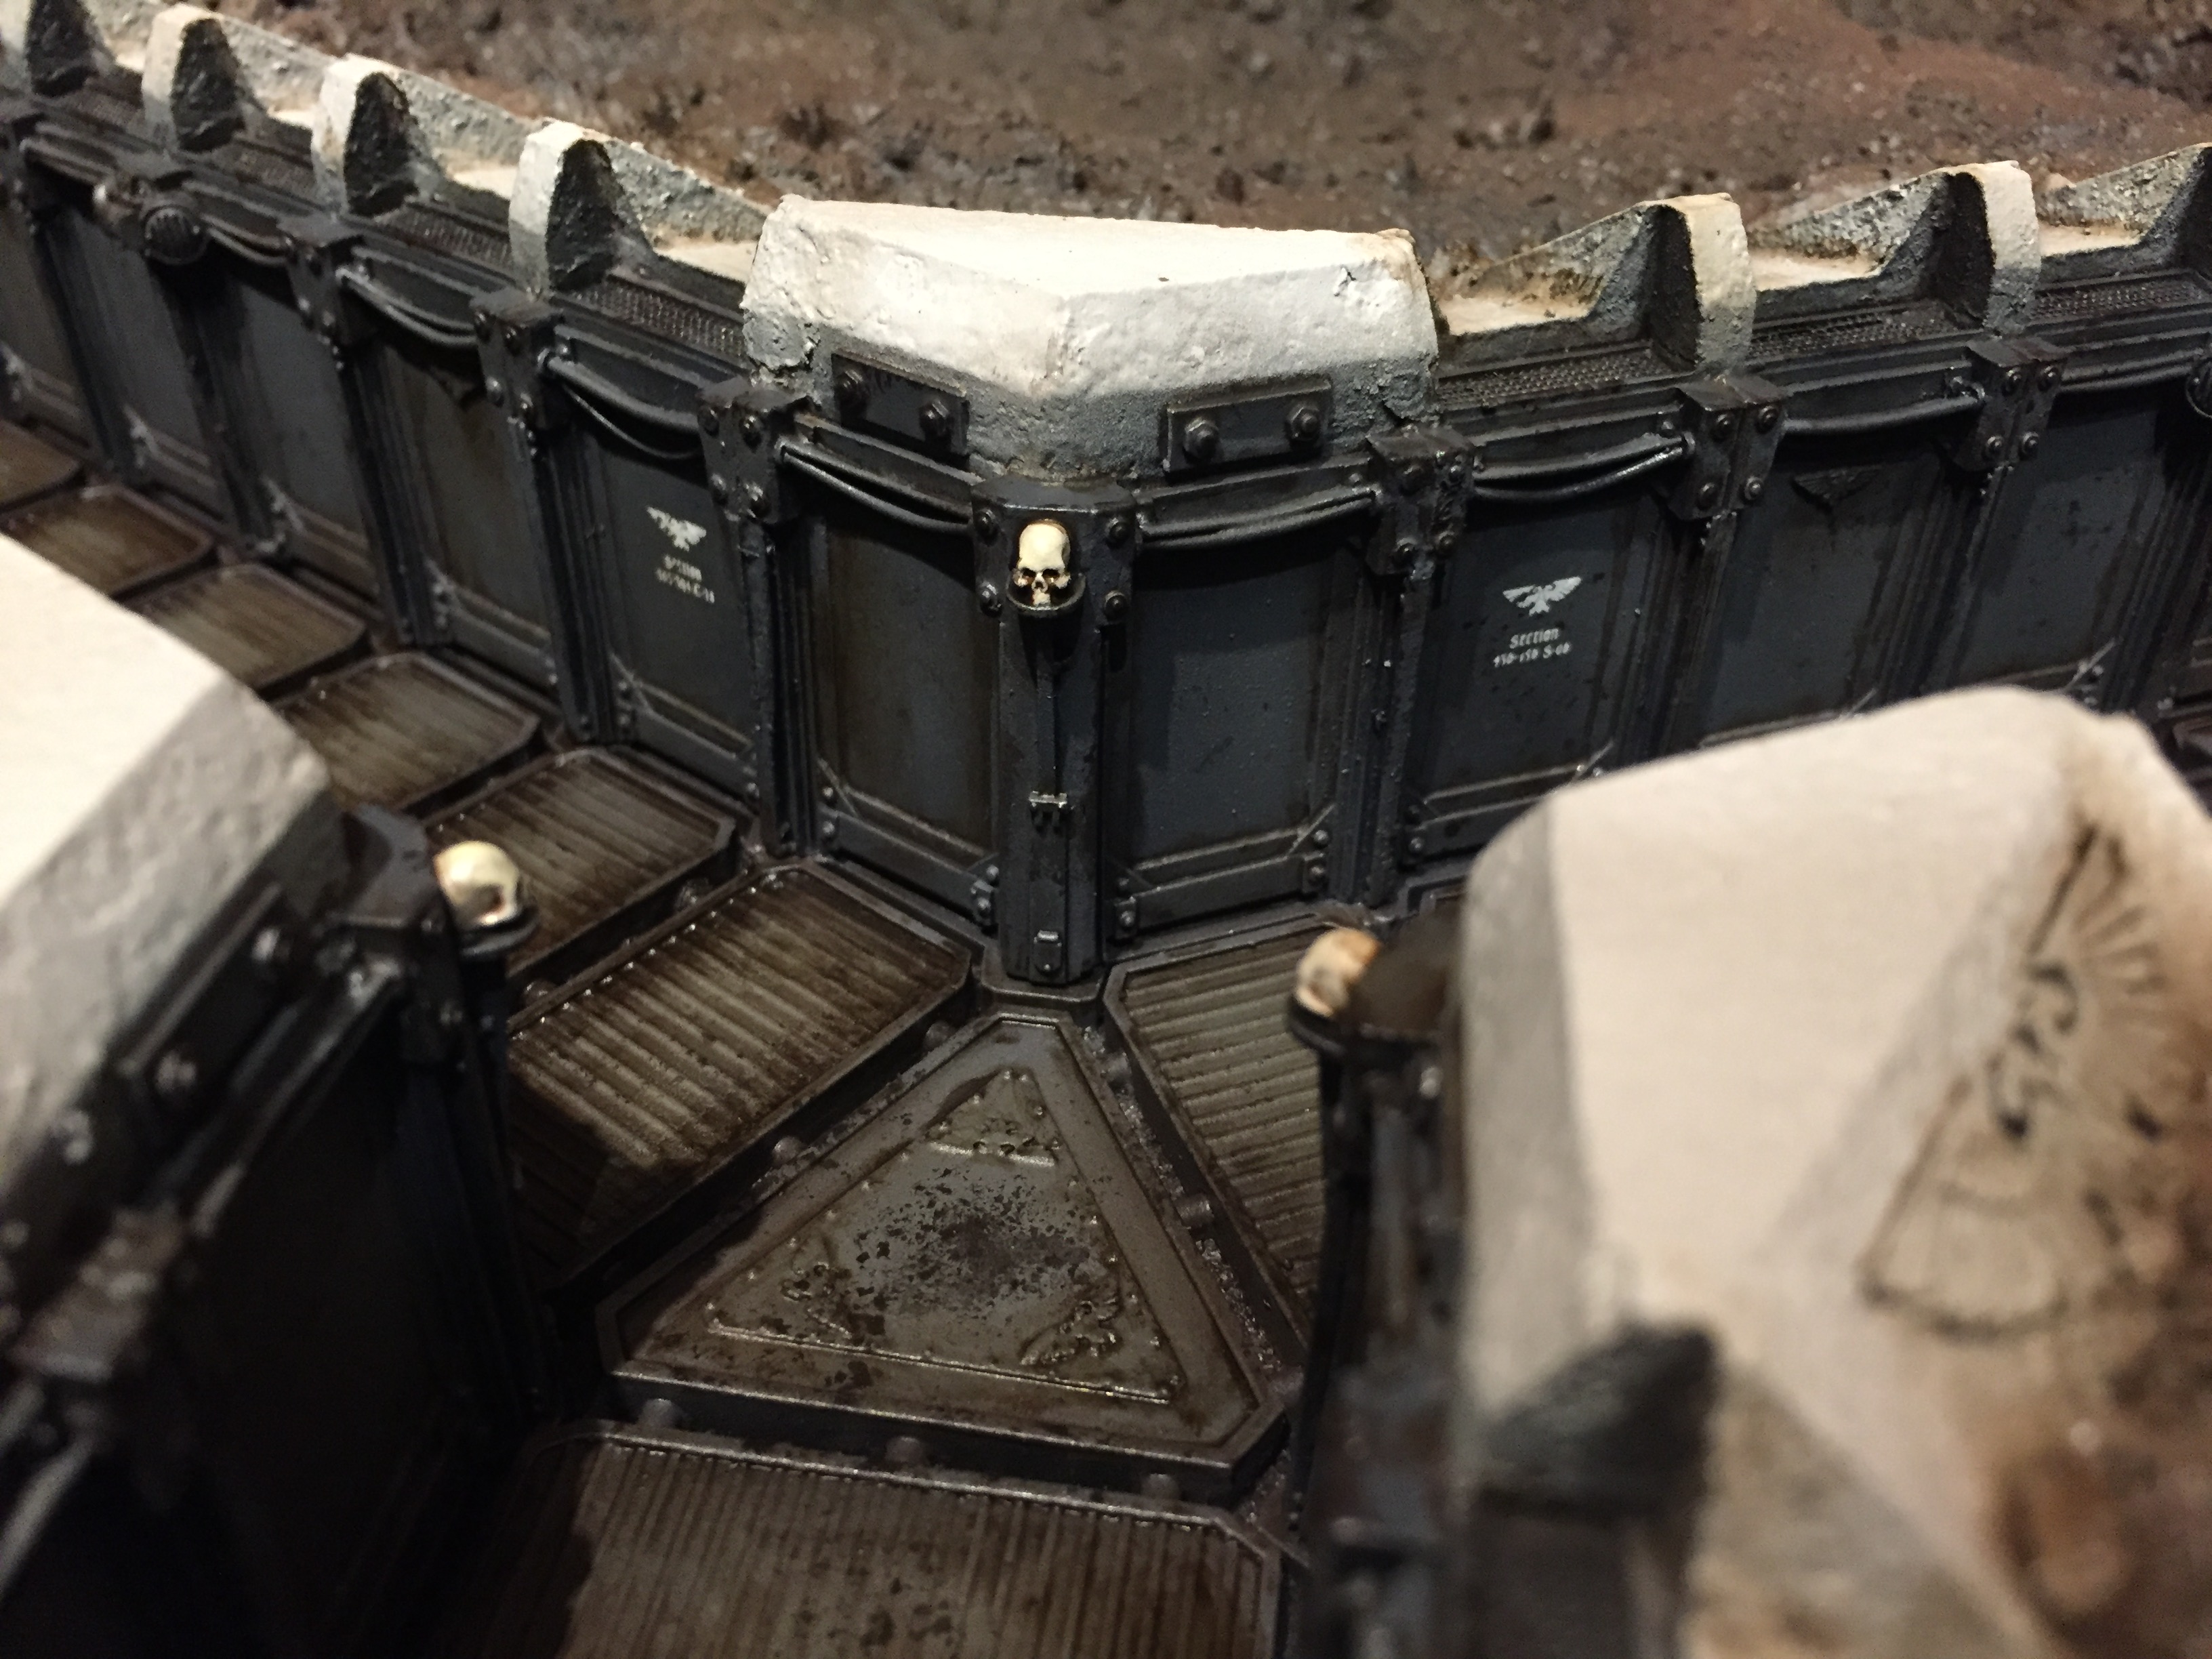
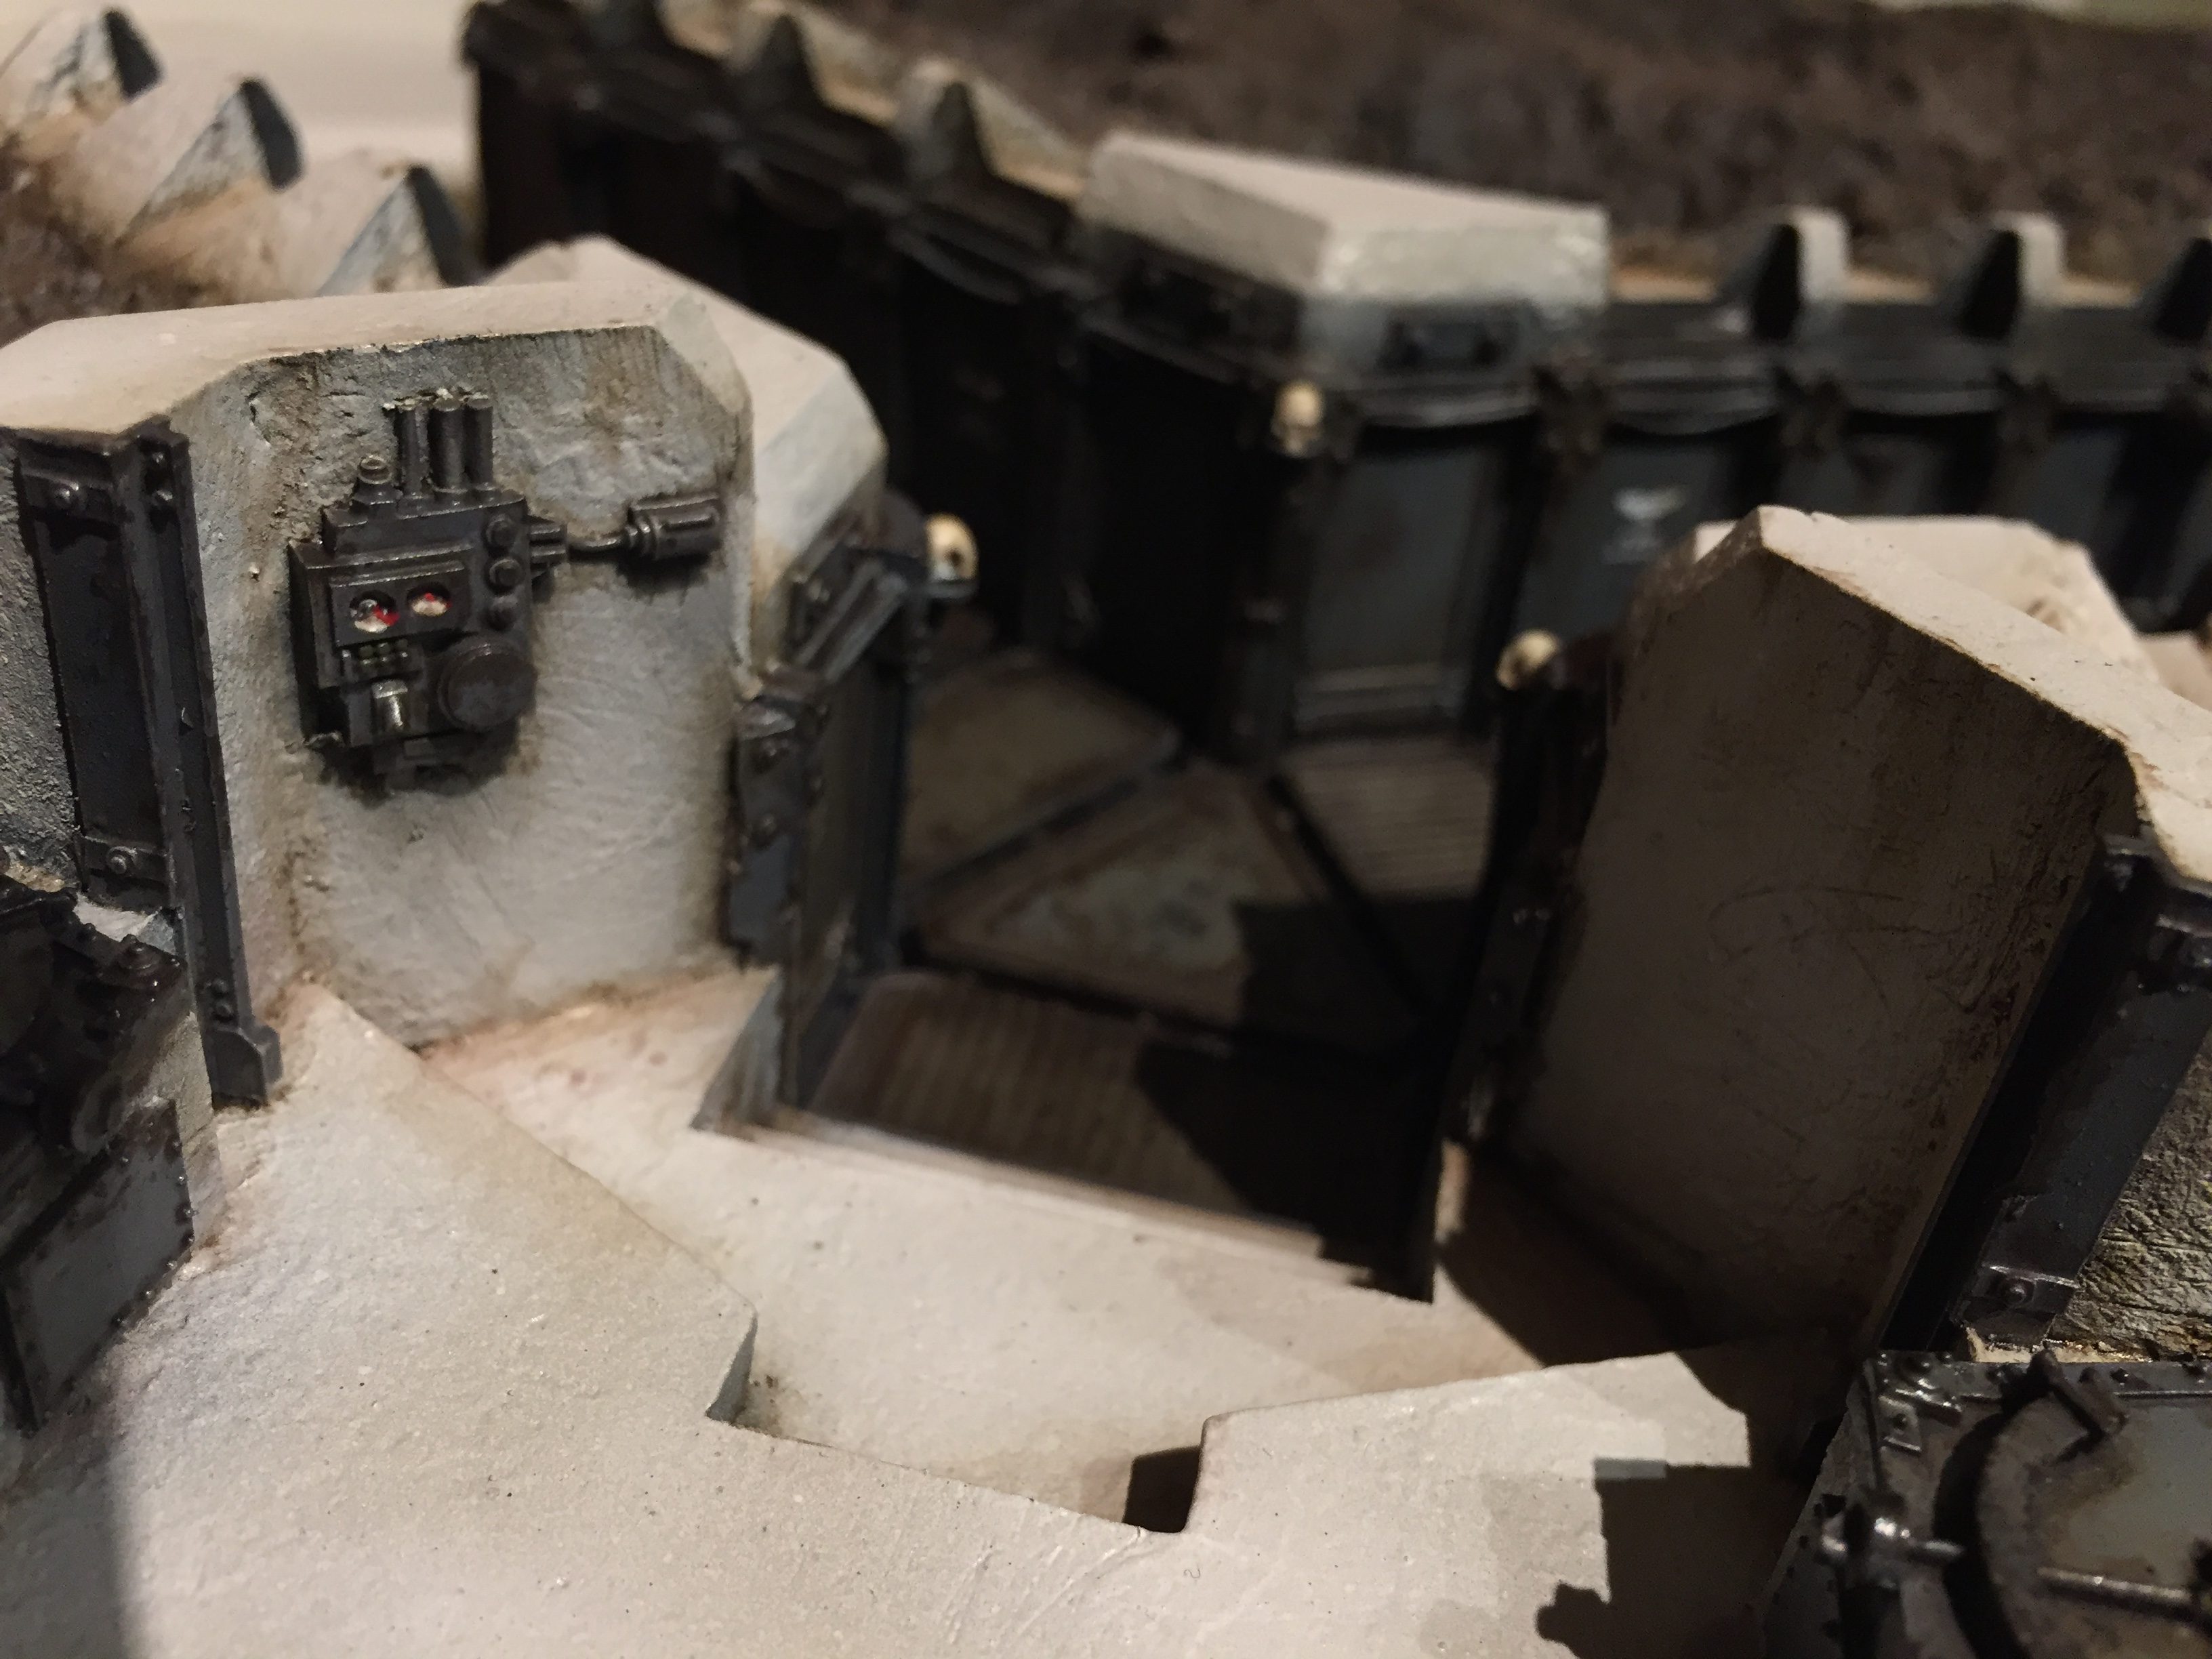
The trench network itself comes from Forgeworld and has been out of production for some time. I managed to pick mine up on eBay a few years back.
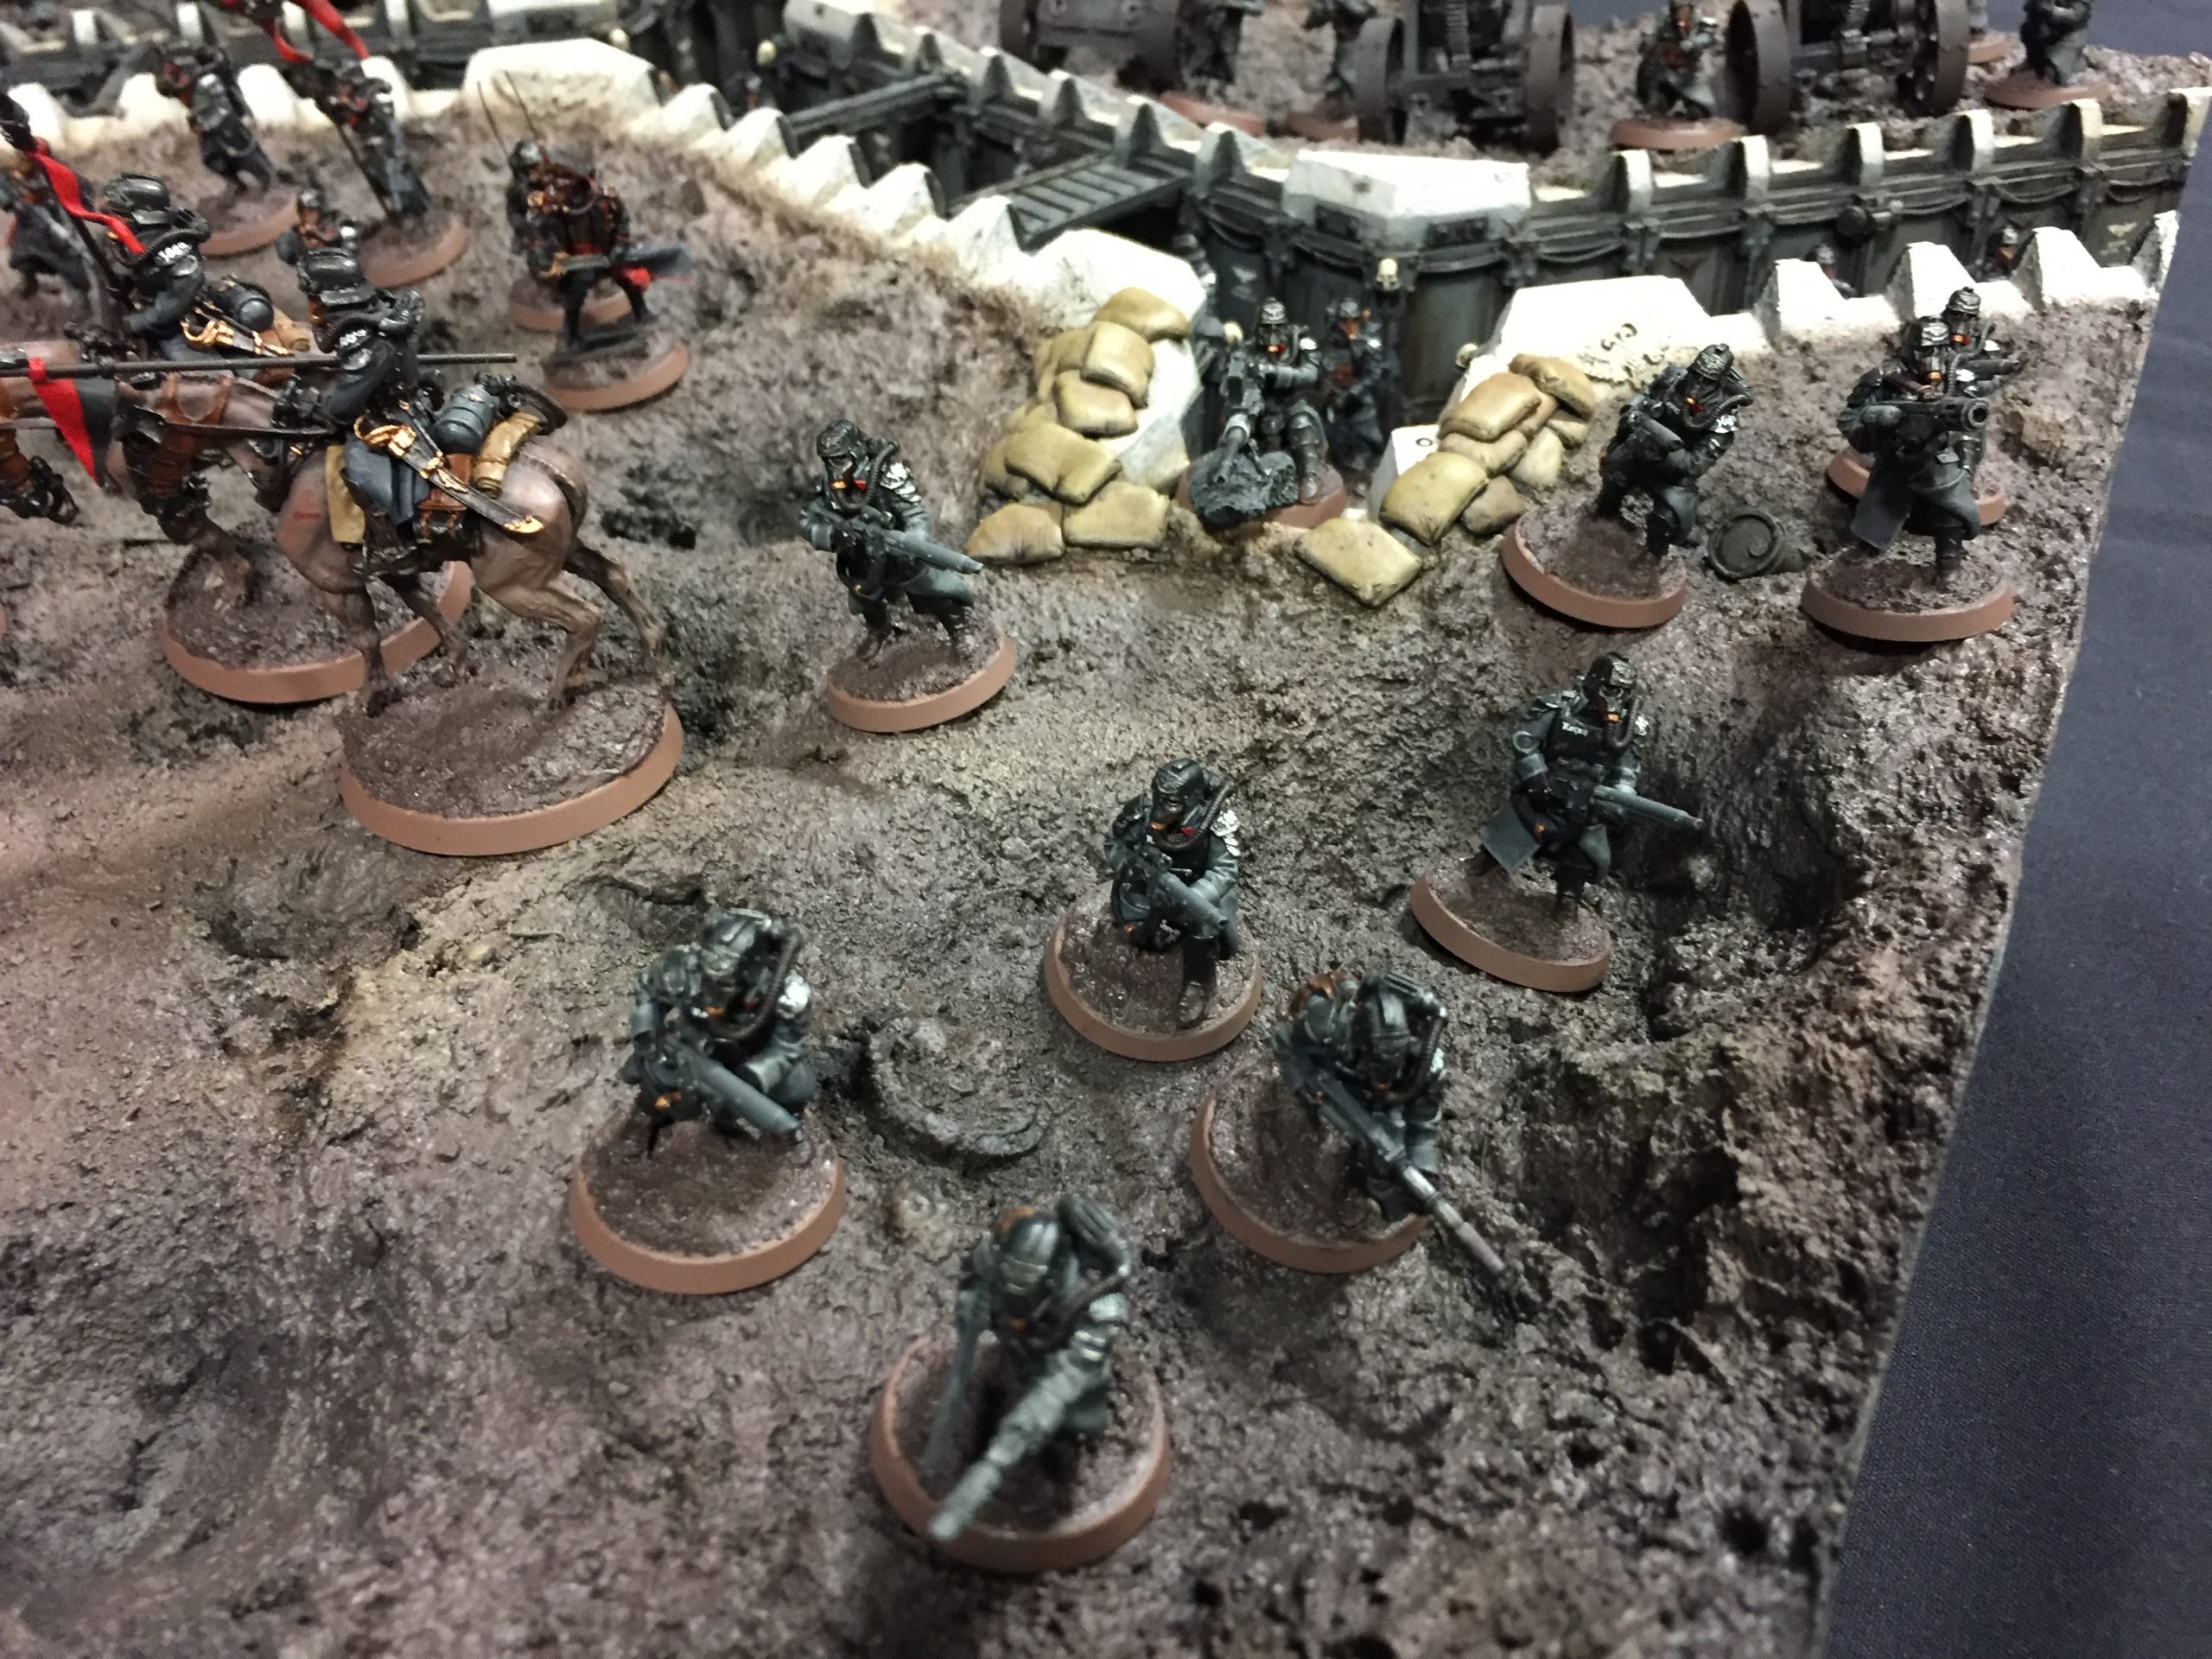
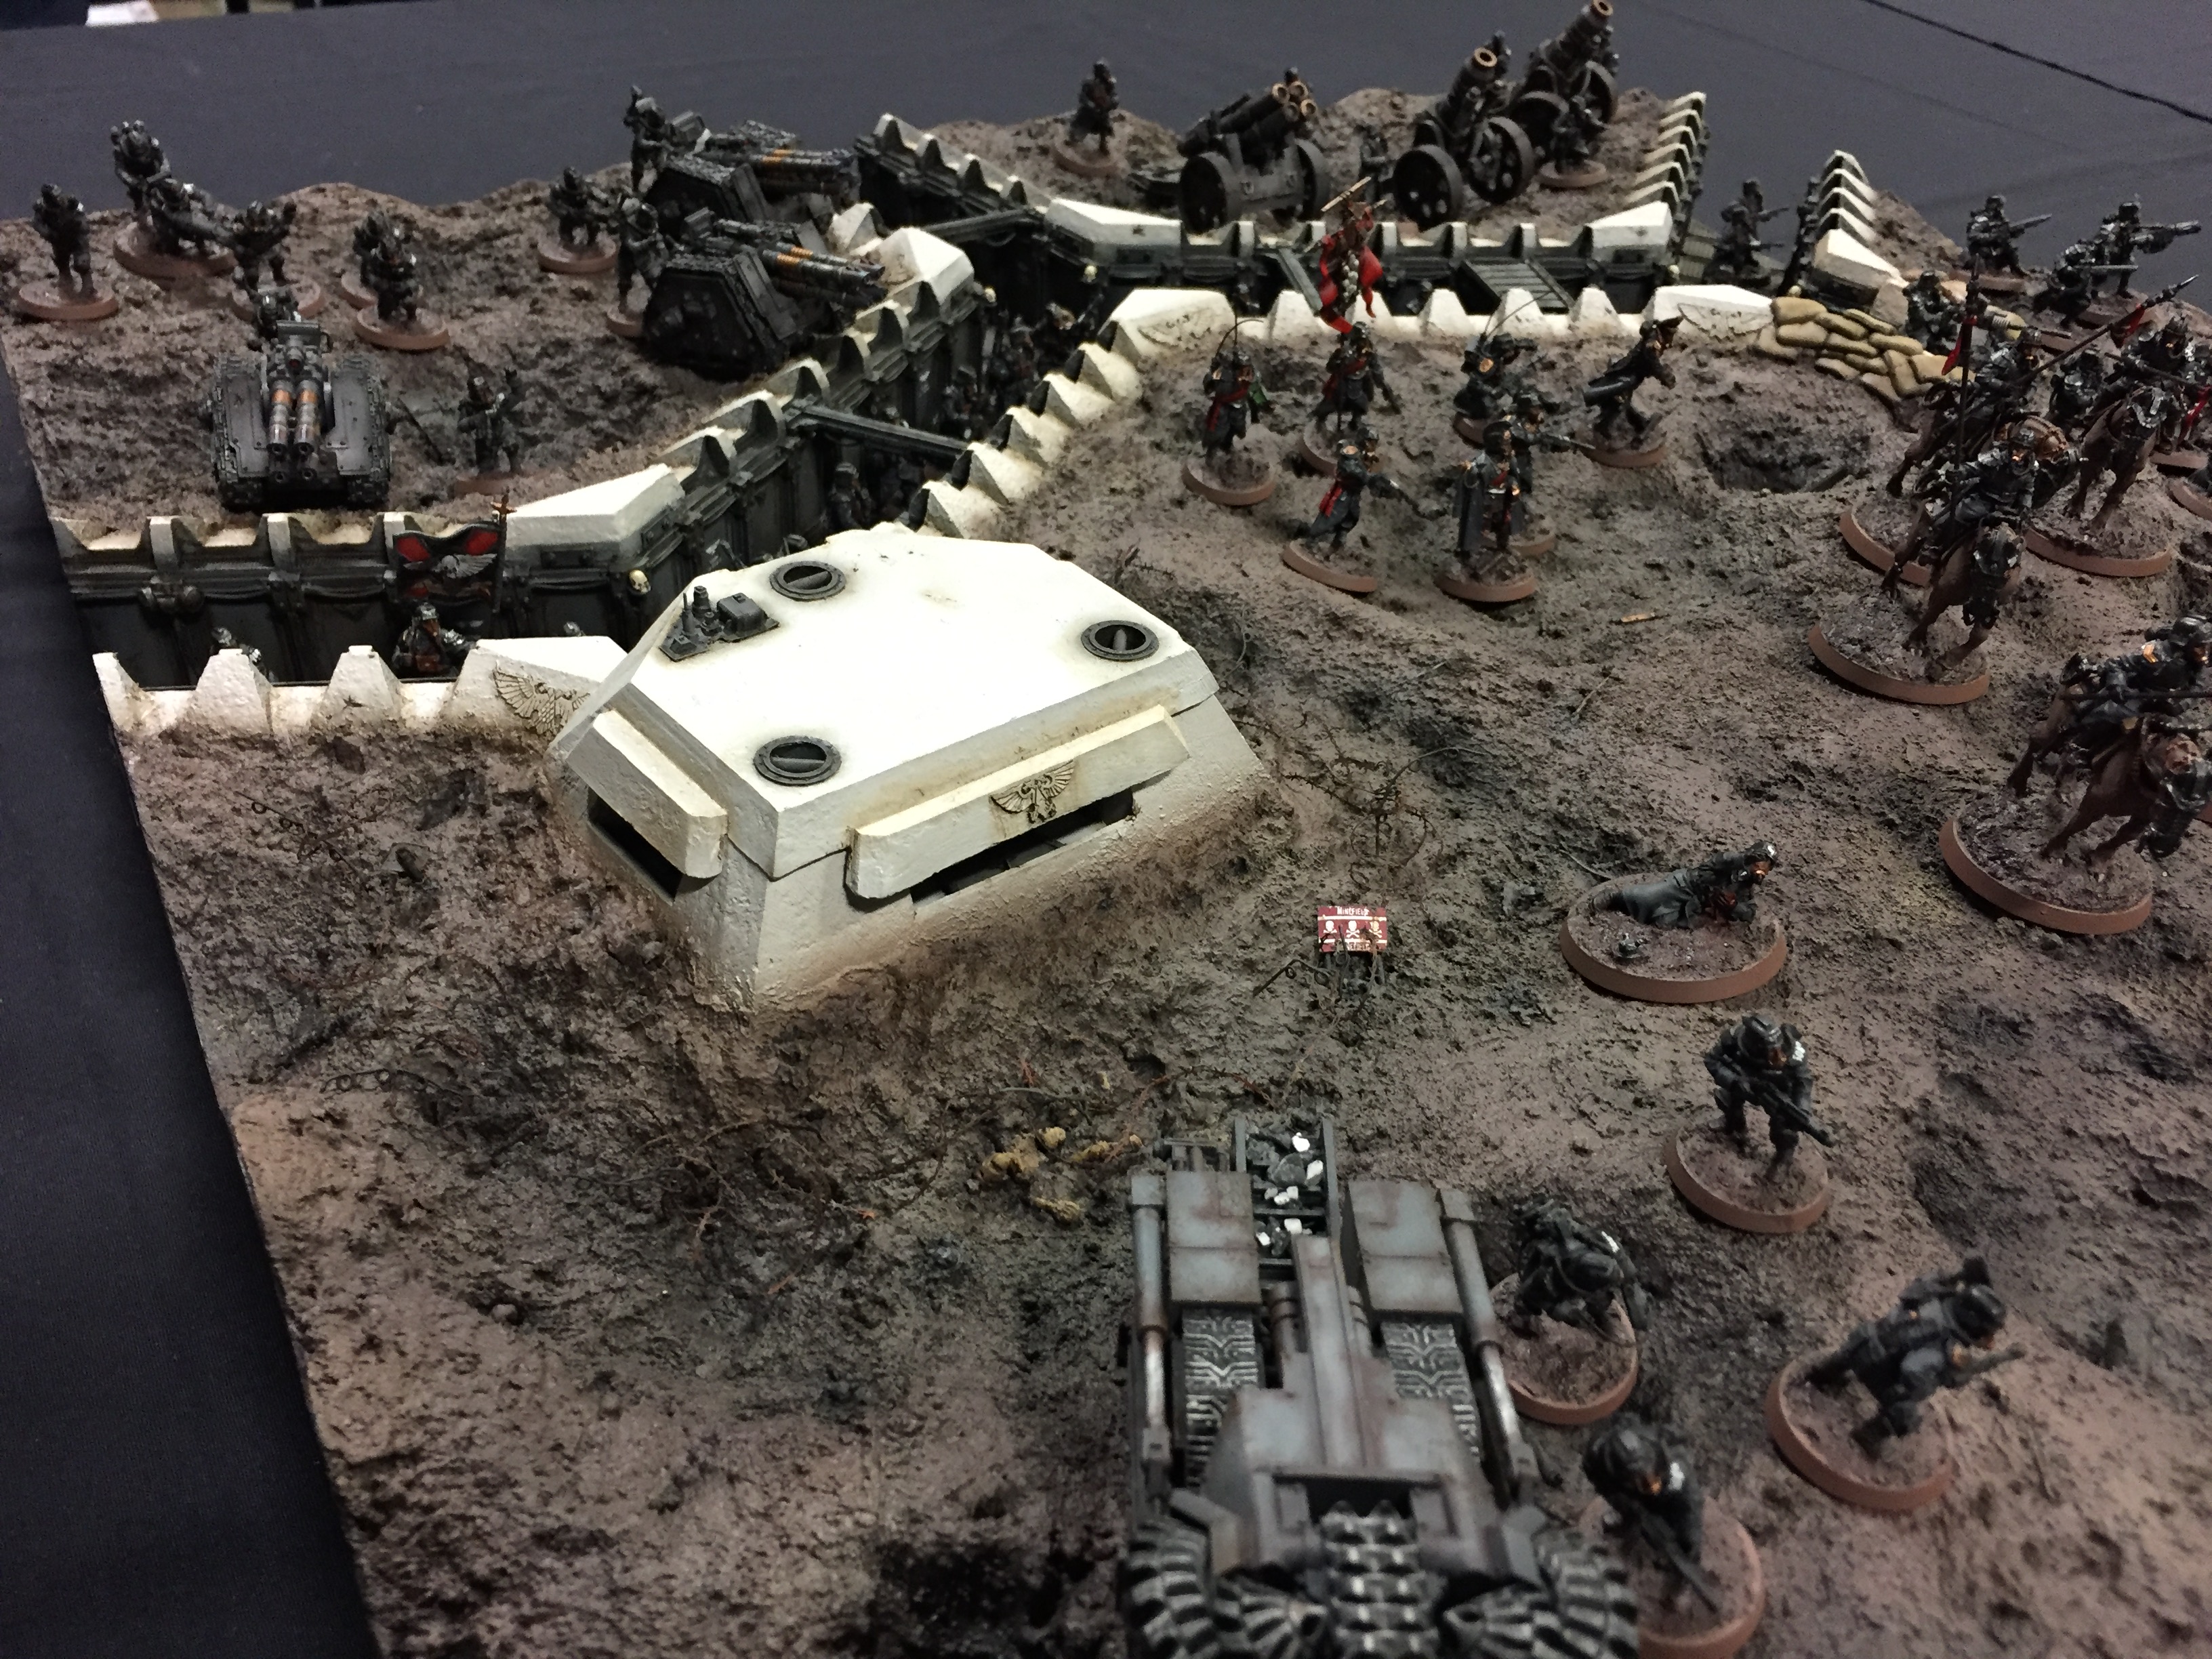
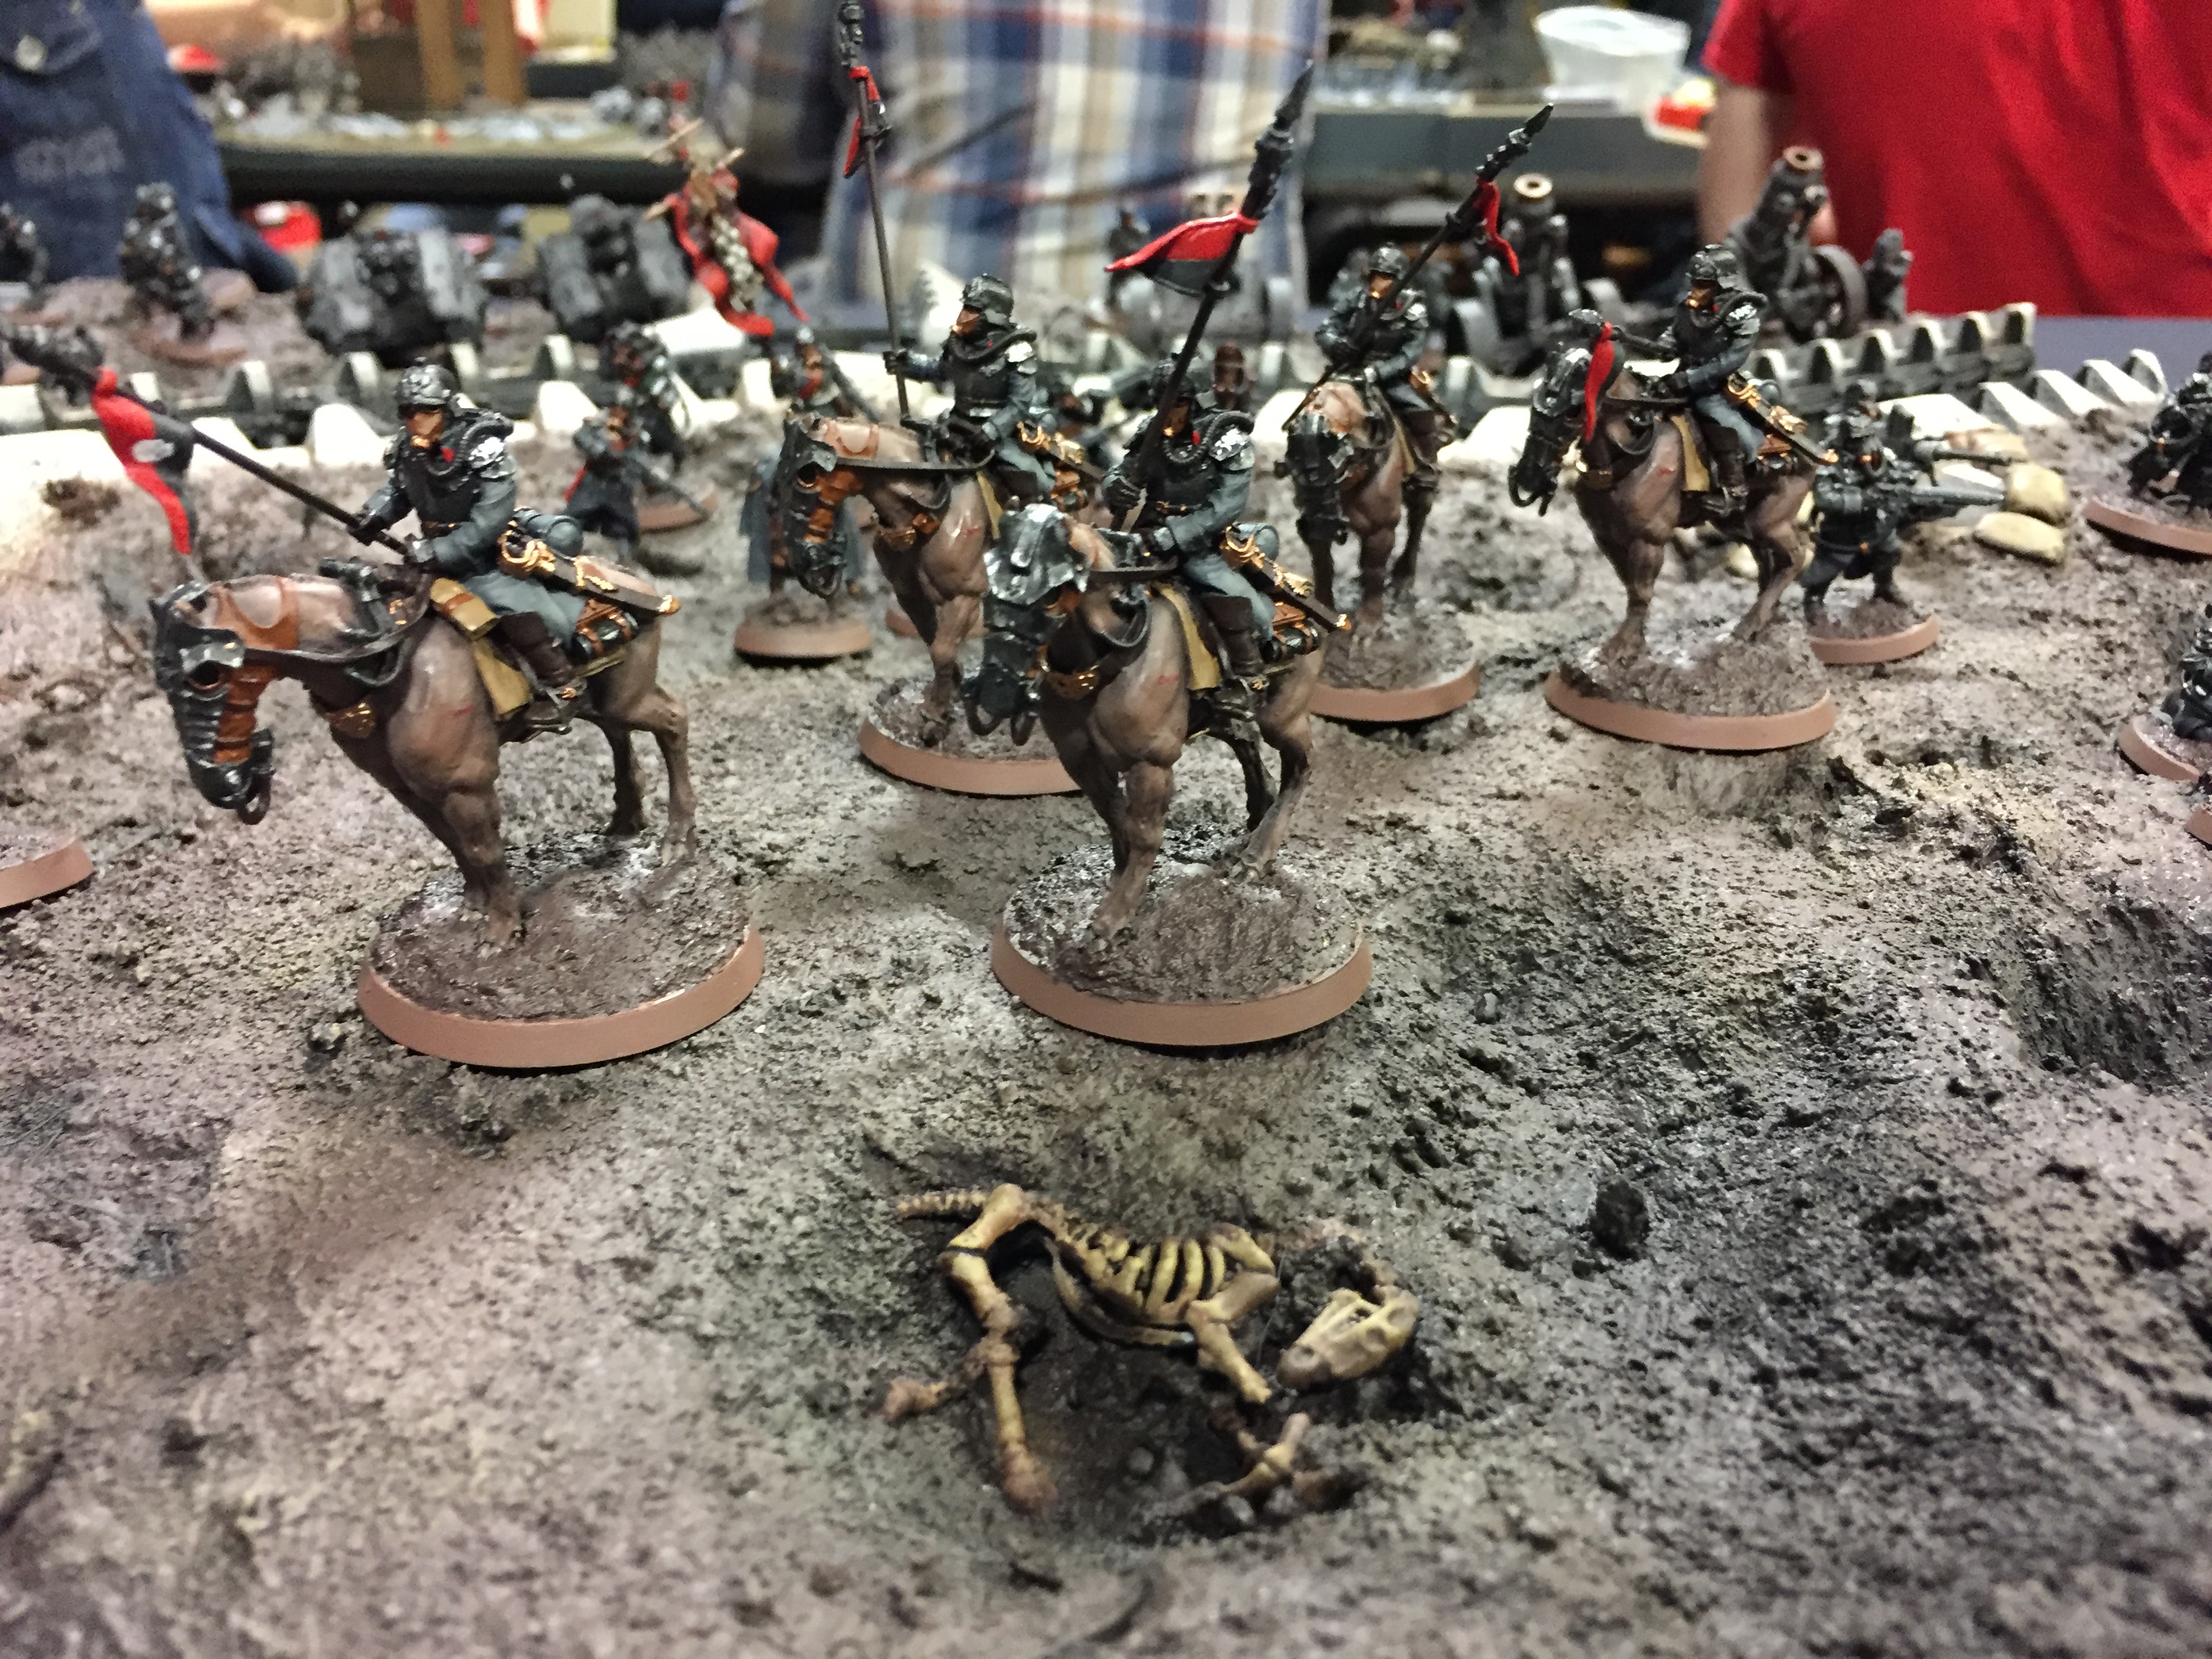
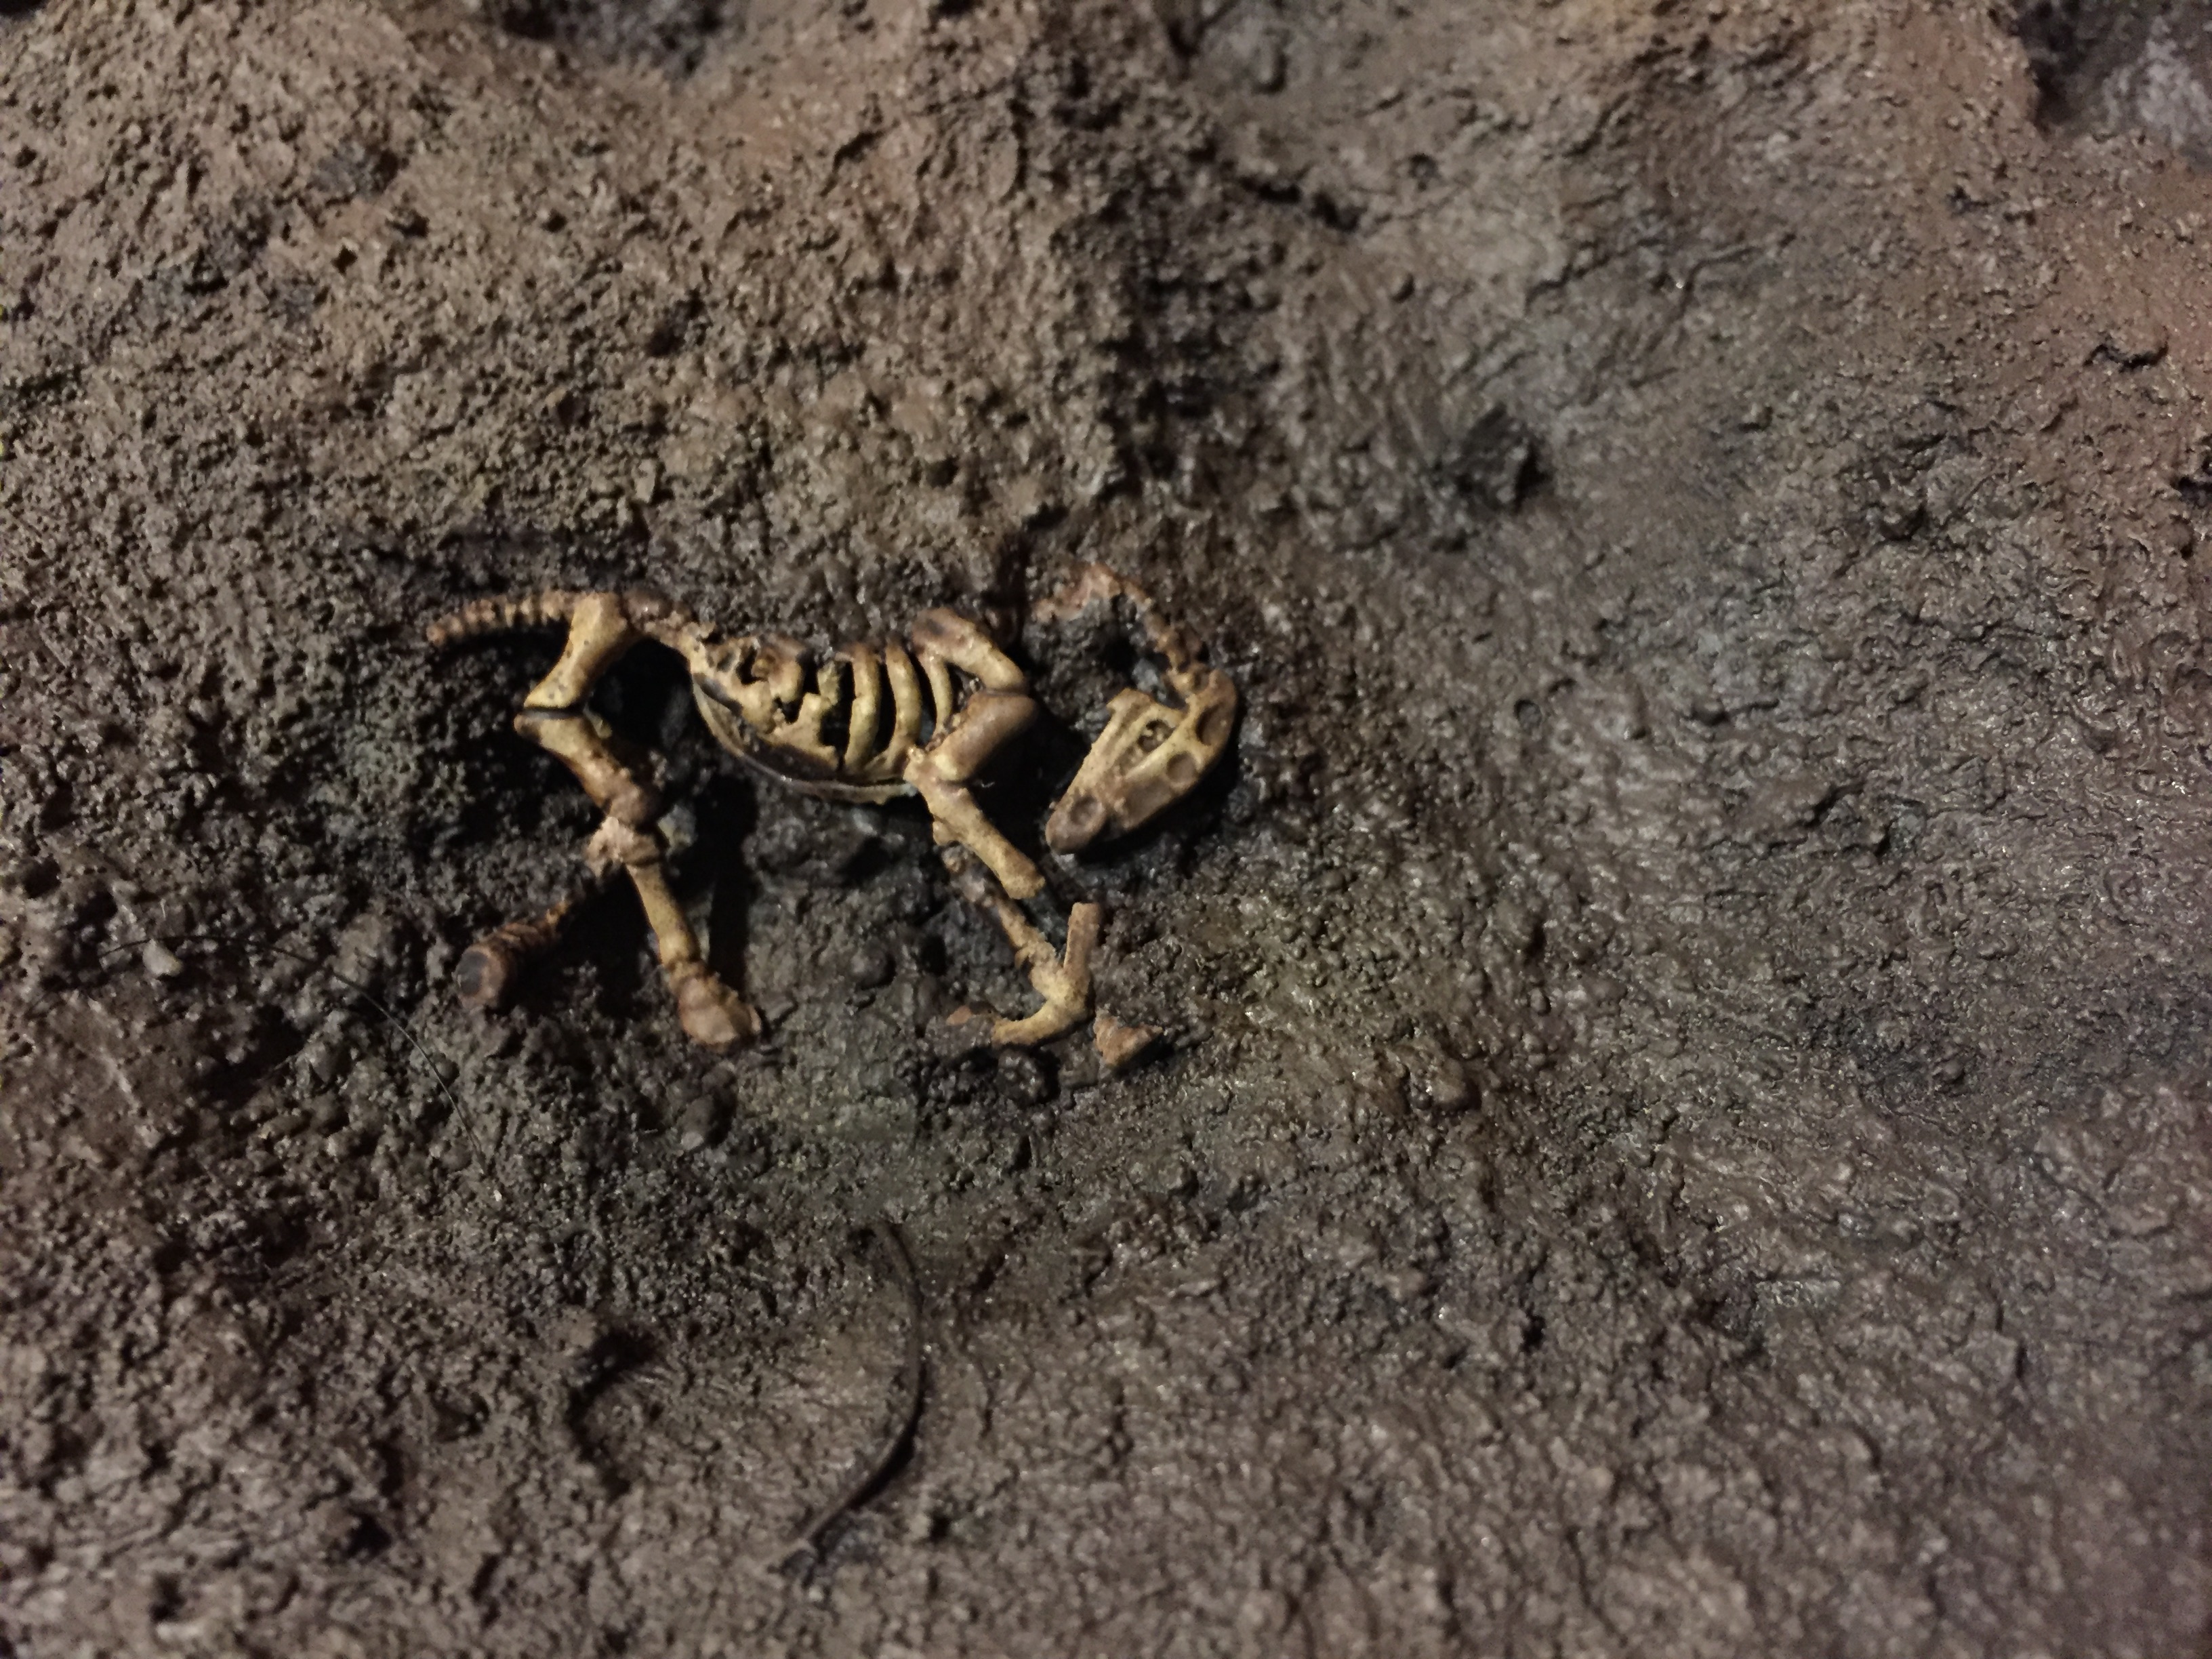
Additional pieces such as skeletons (human and horse) are old Fantasy kits found on eBay. Sandbags are made from greenstuff , the barb wire is from Forgeworld and the minefield markers are from the Krieg transfer sheet from Forgeworld though is currently out of production.
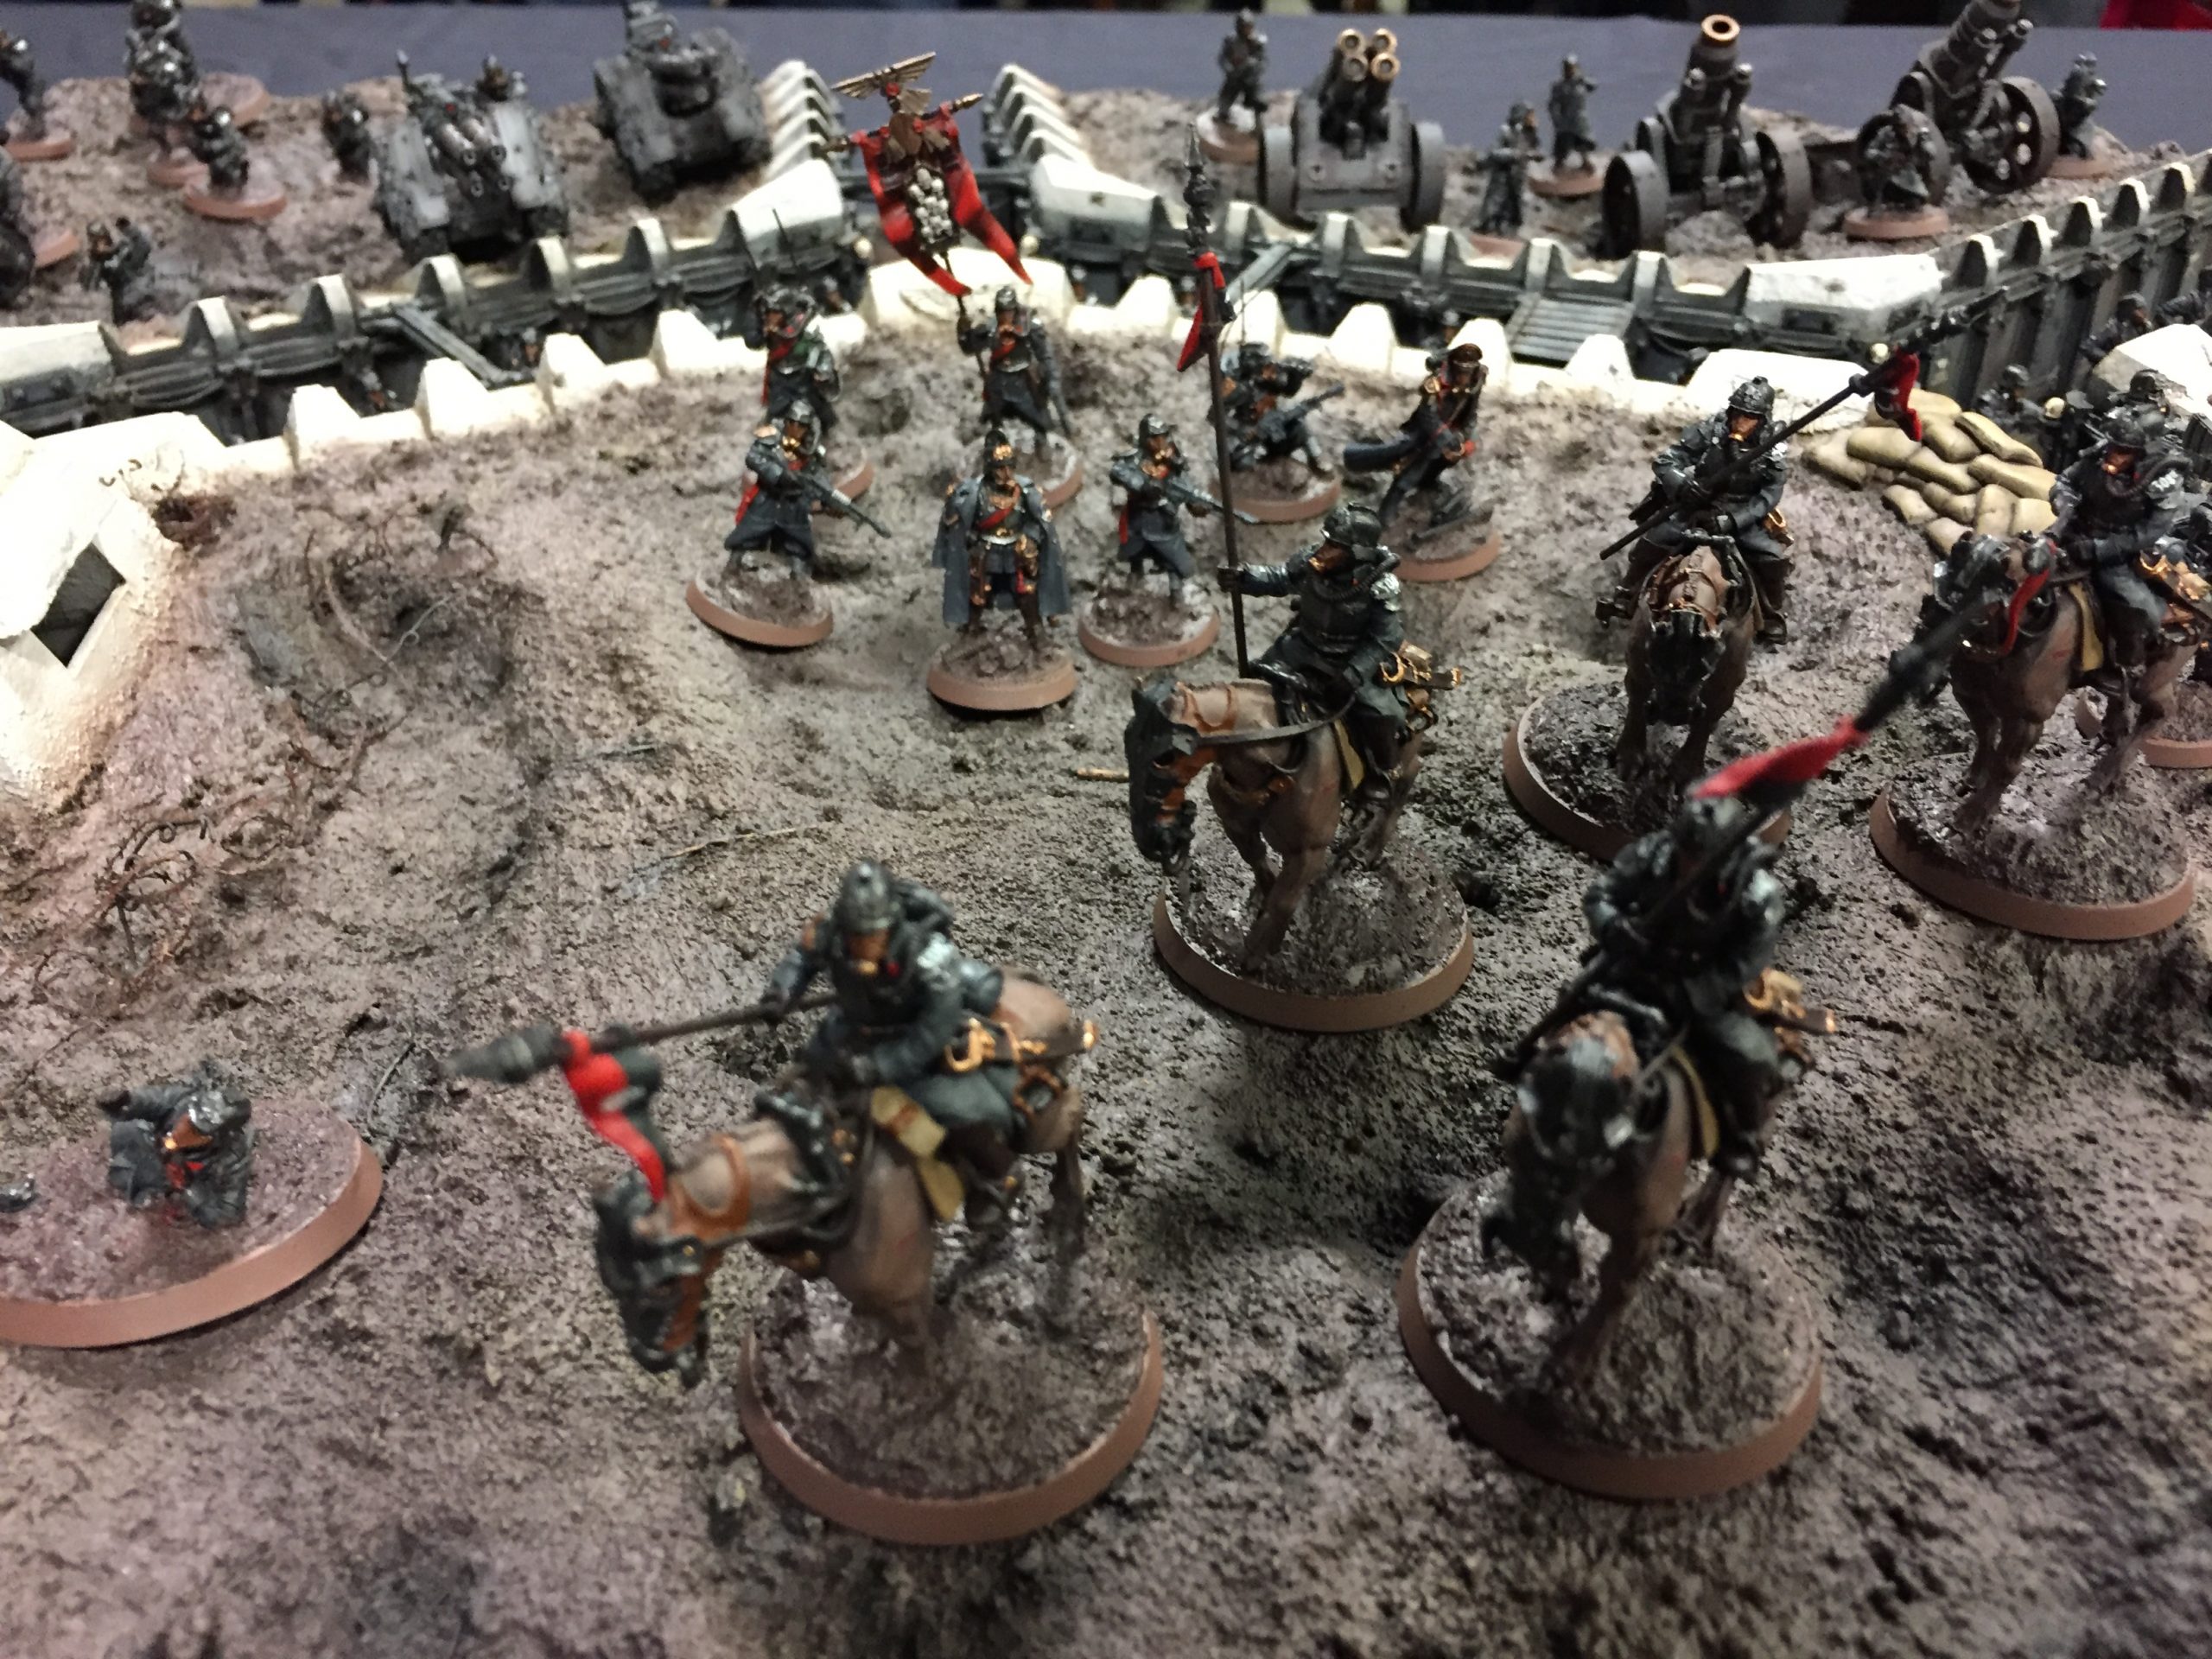
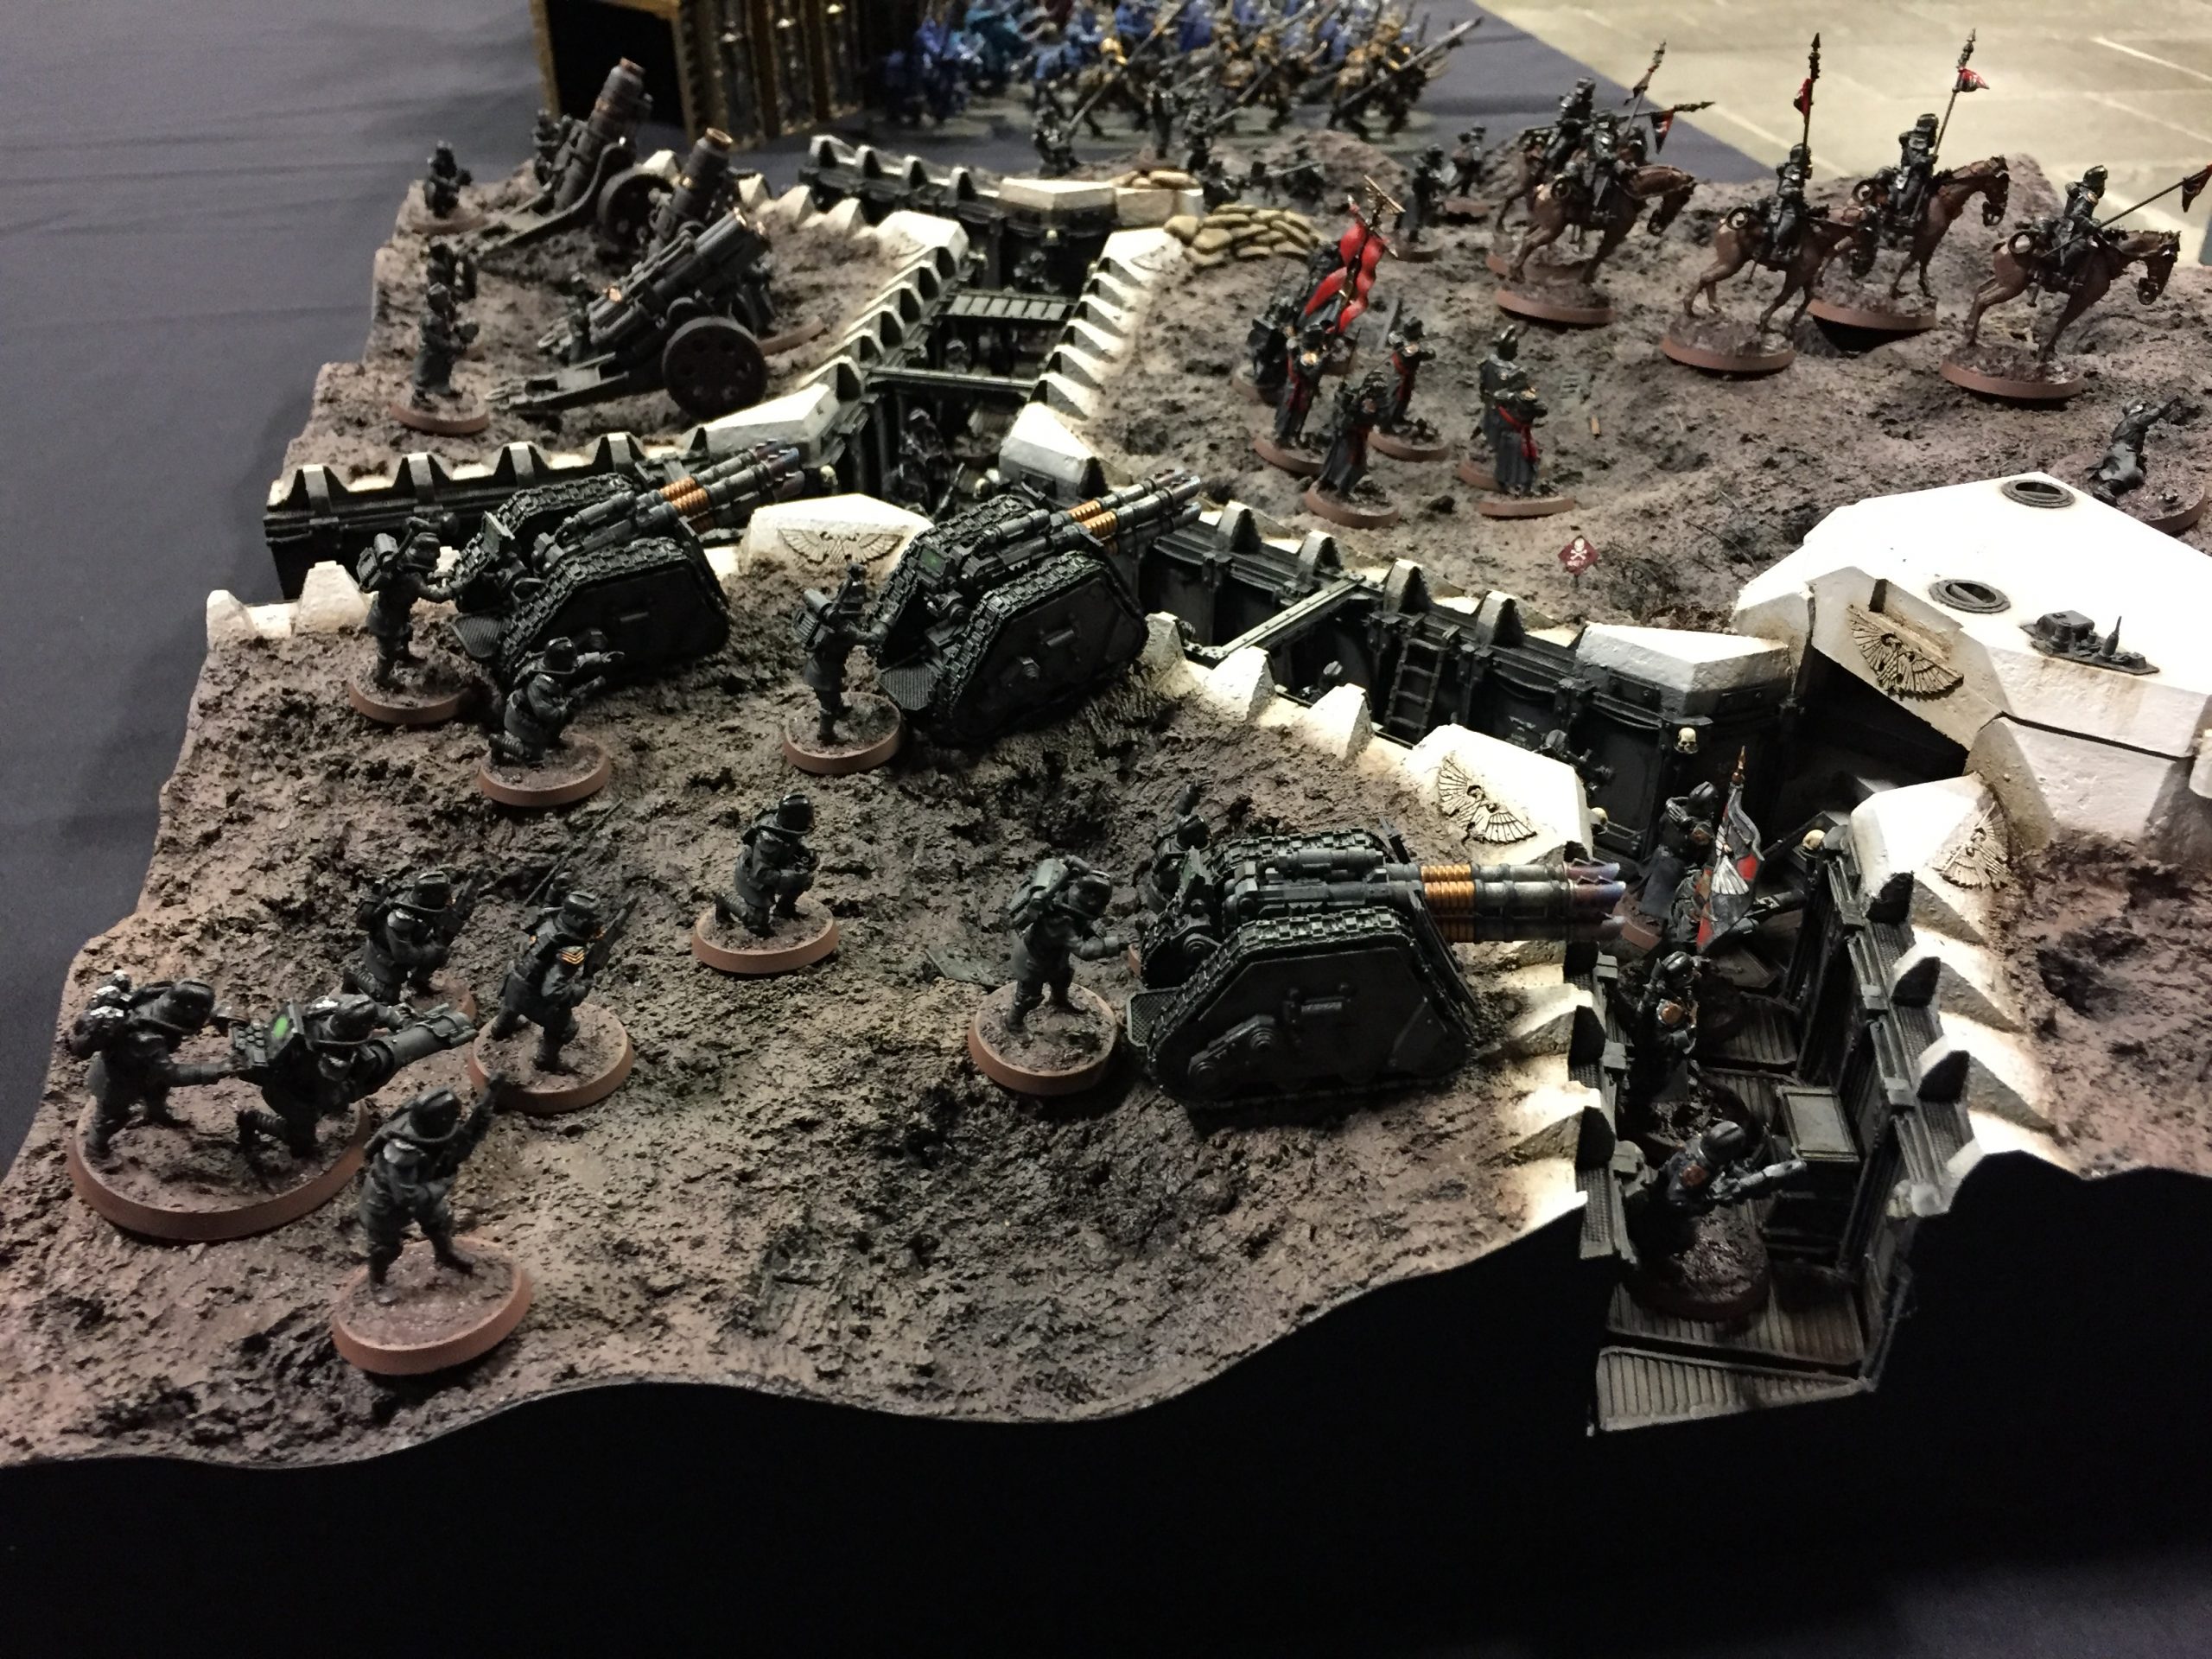
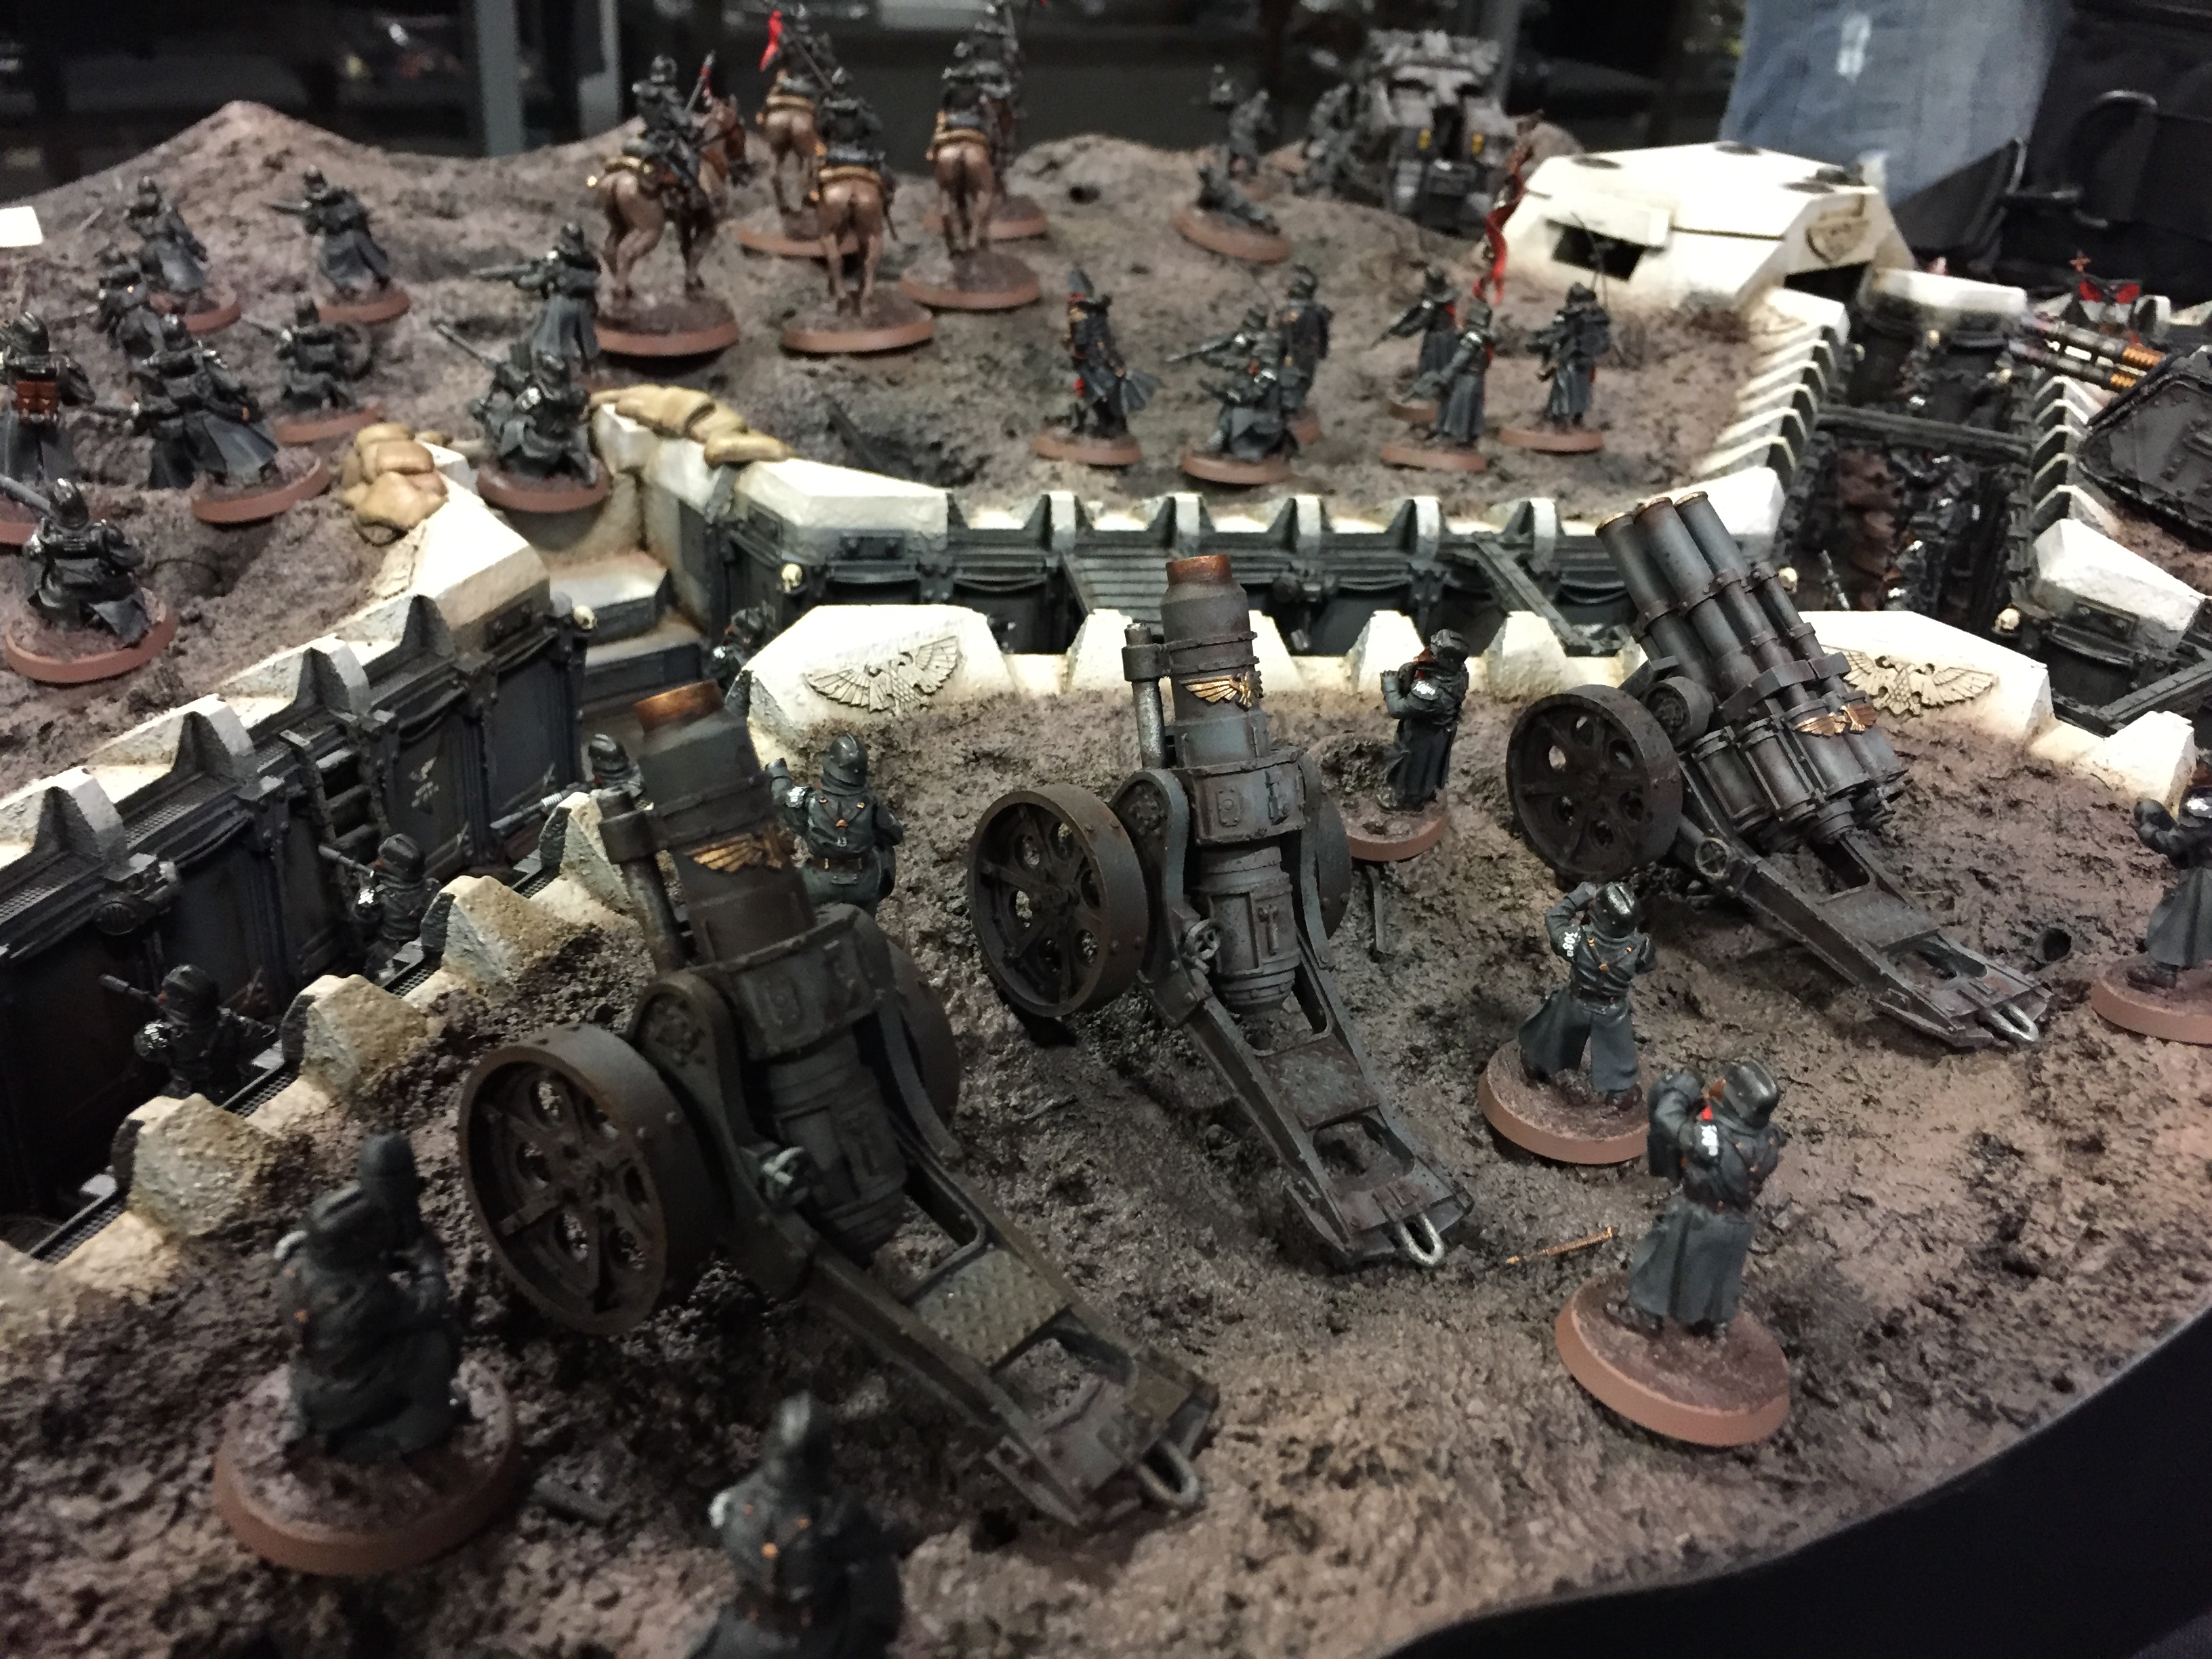
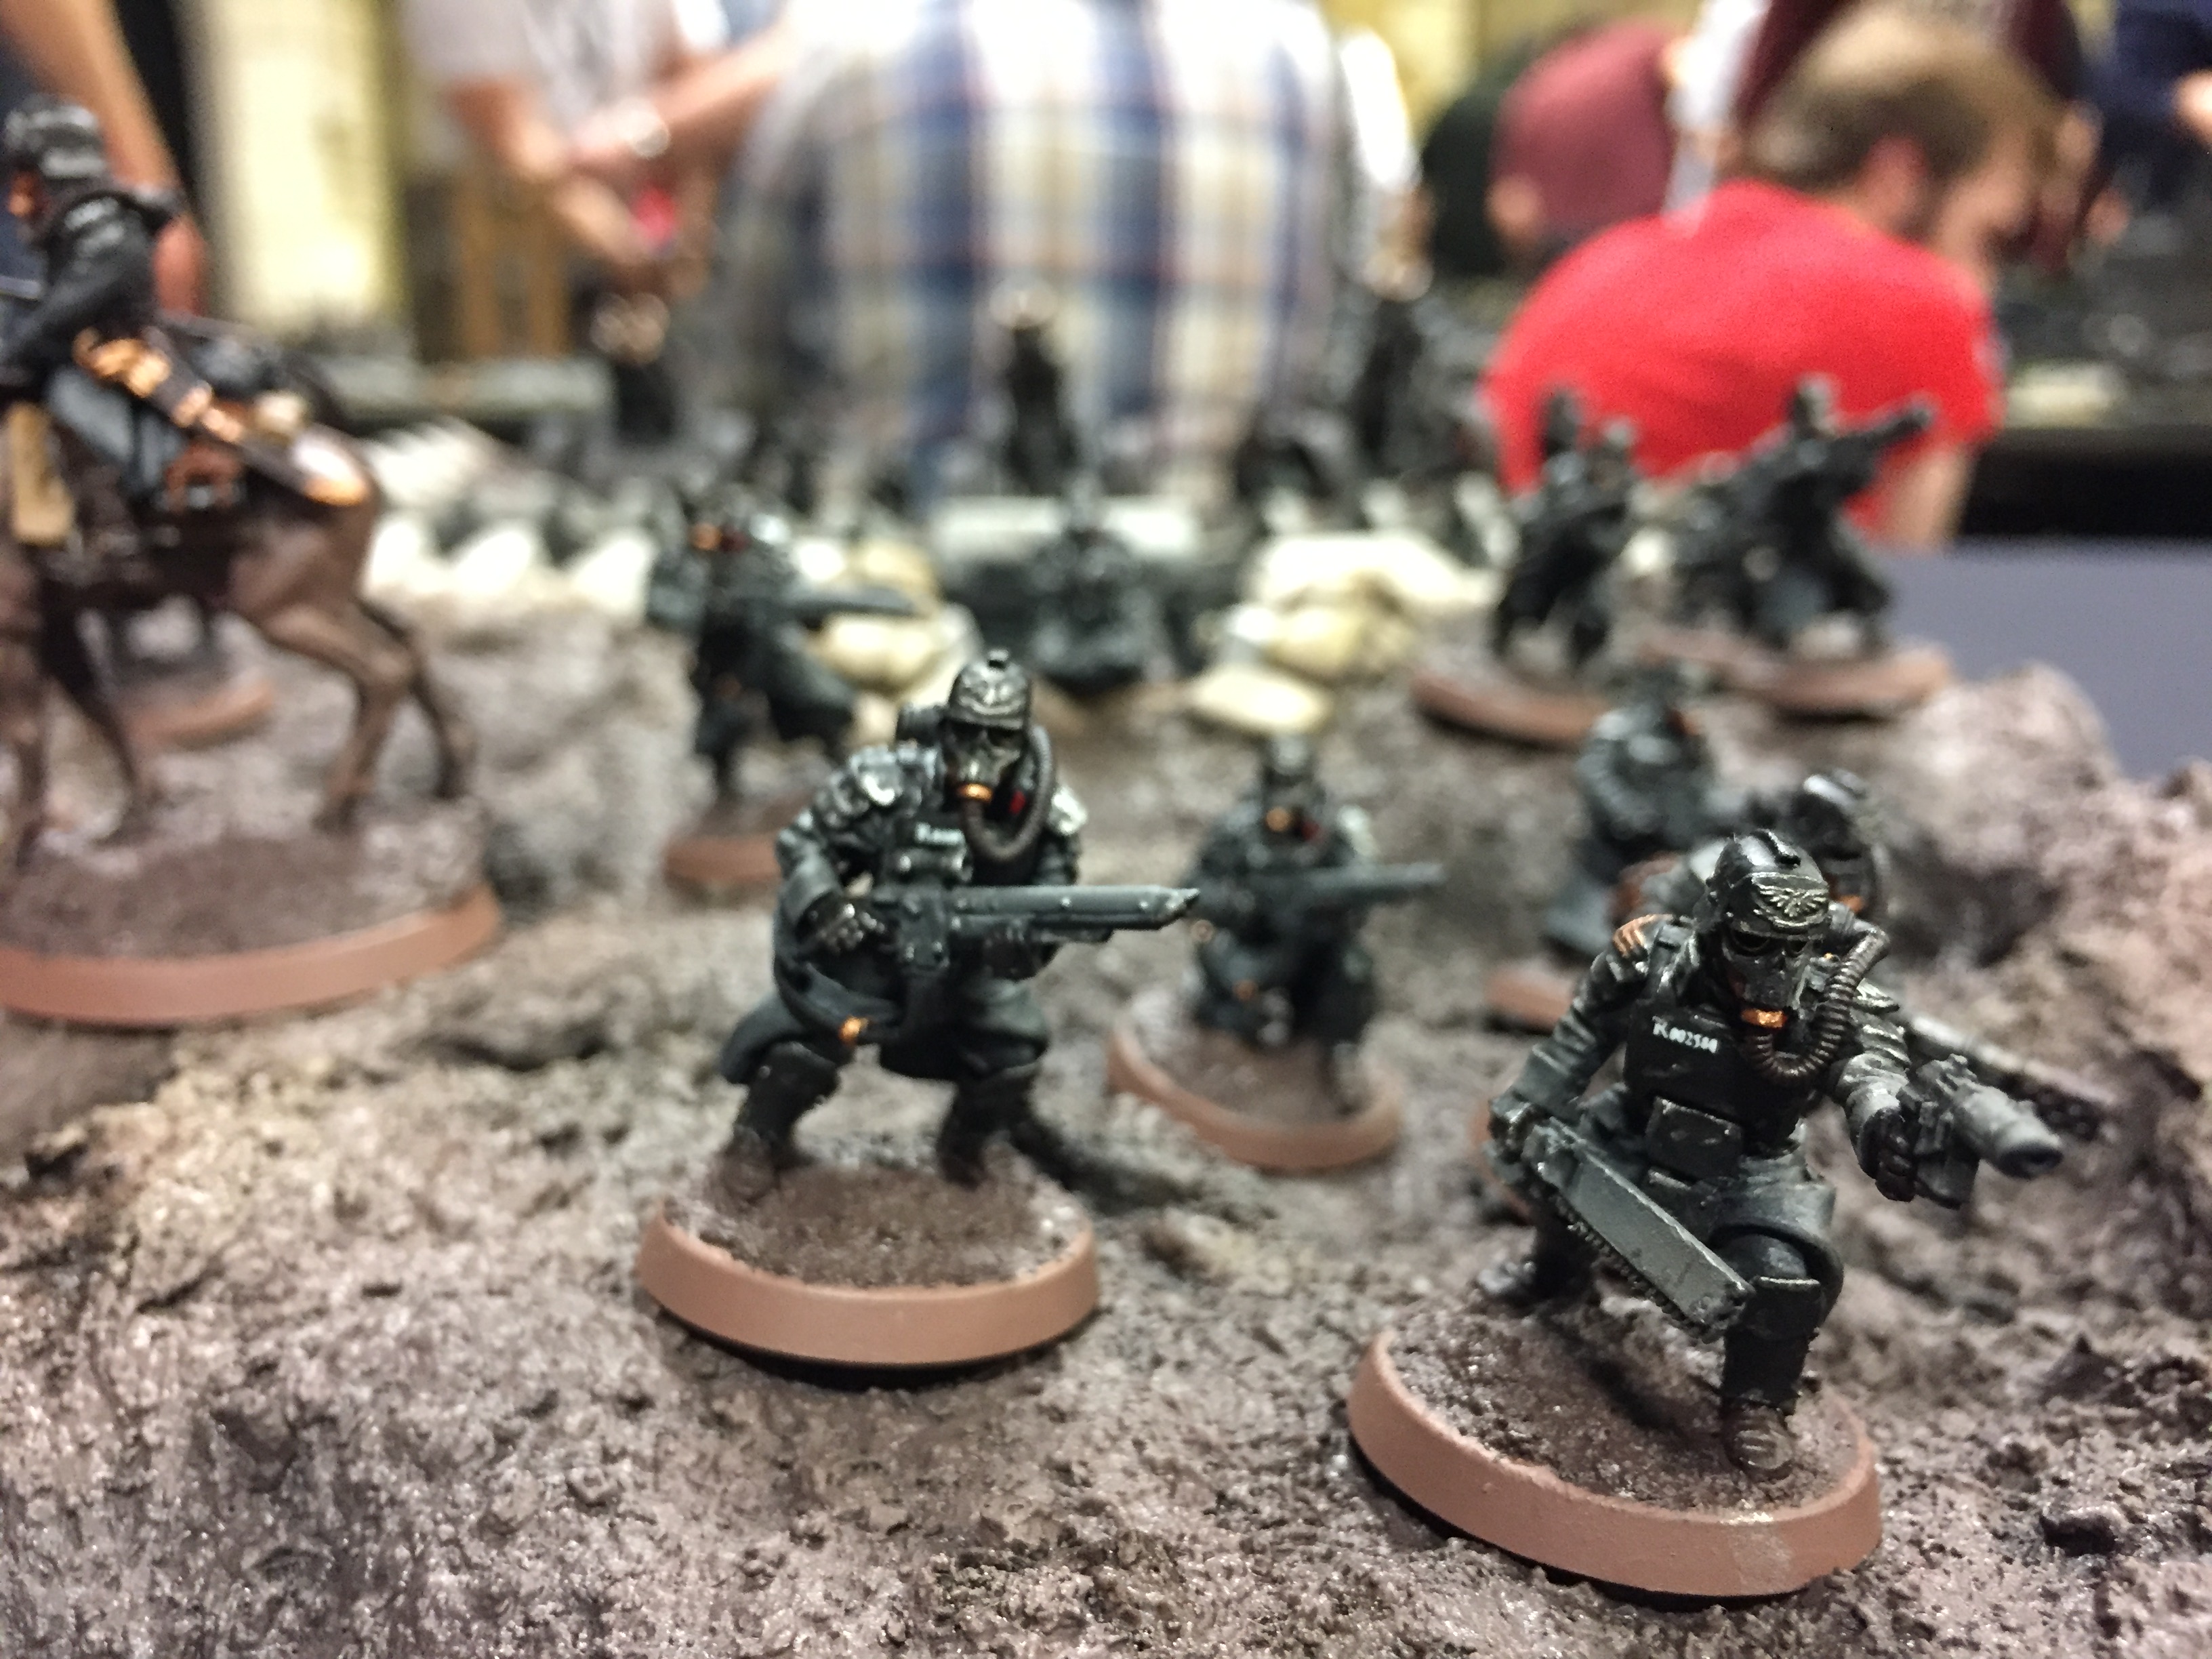
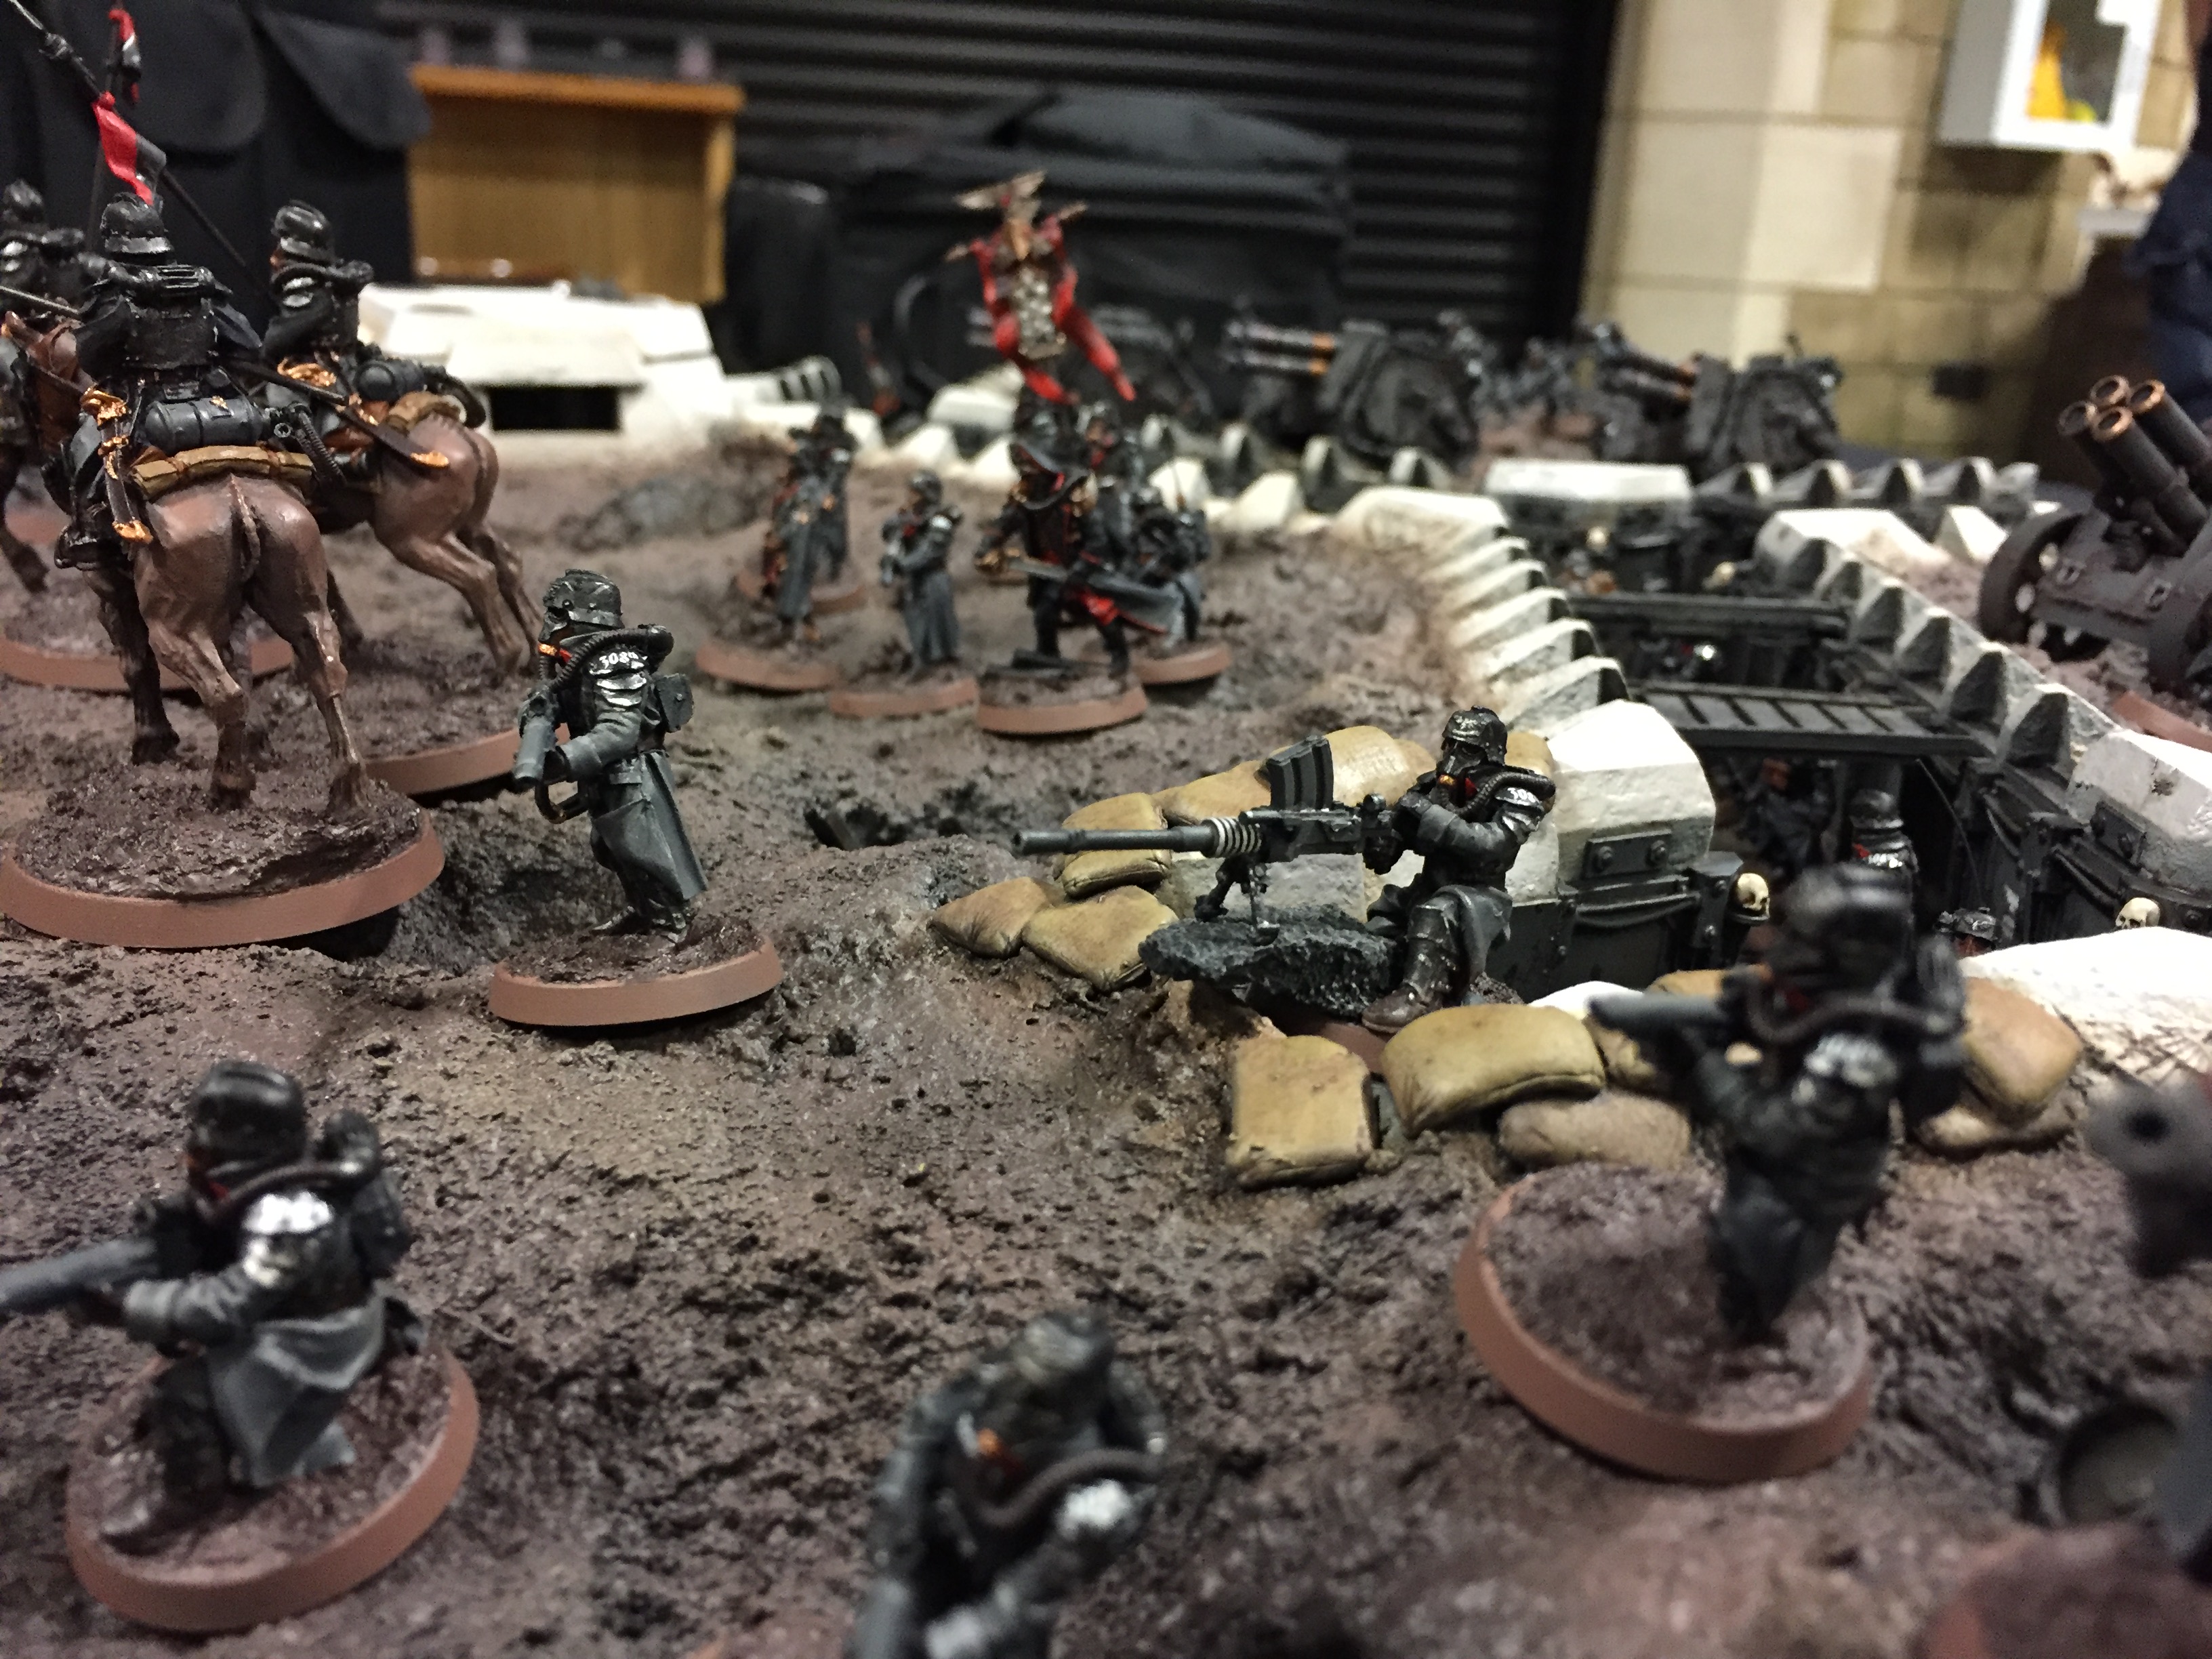
The Krieg on show (going from top left/clockwise order) are:
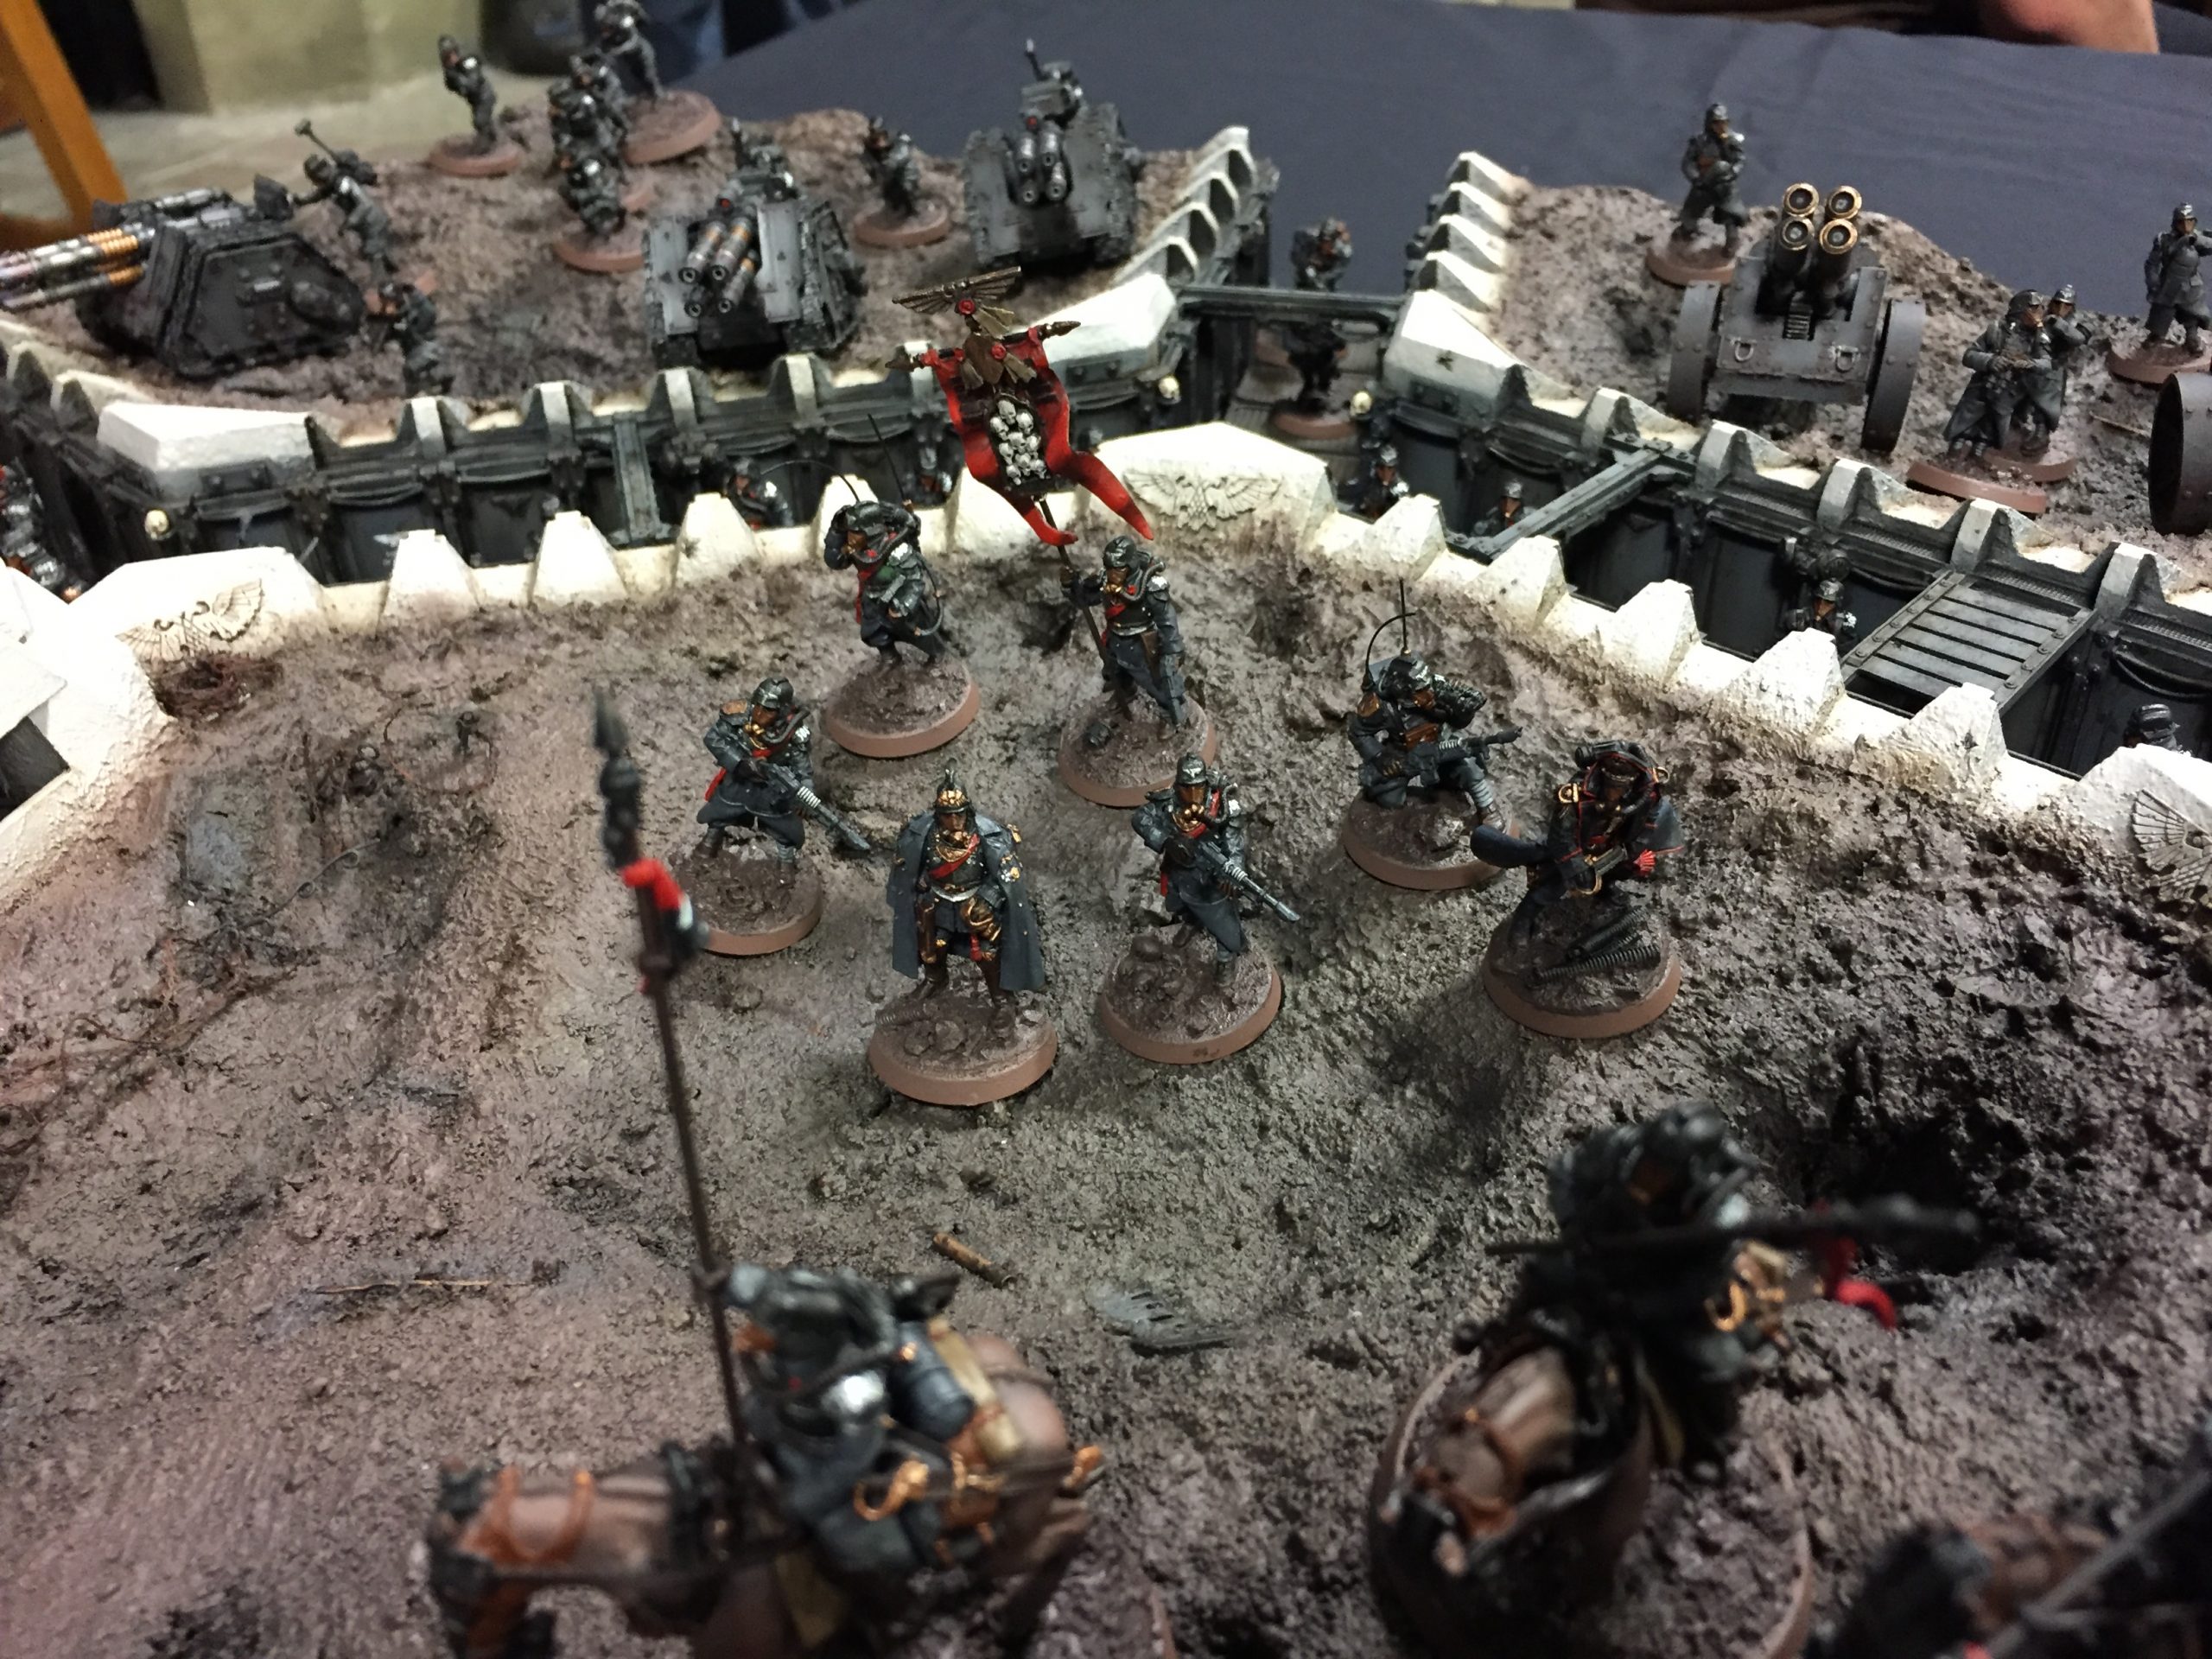
Engineers with Mole launcher, Rapiers with converted Engineer crew, Thudd Gun and Heavy Mortars, Grenadiers, Death riders, Company command squad and Commissar, Engineers and Hades drill and Platoon Command Squad with platoon squad (inside trench network).


How did you do the mud on the board?
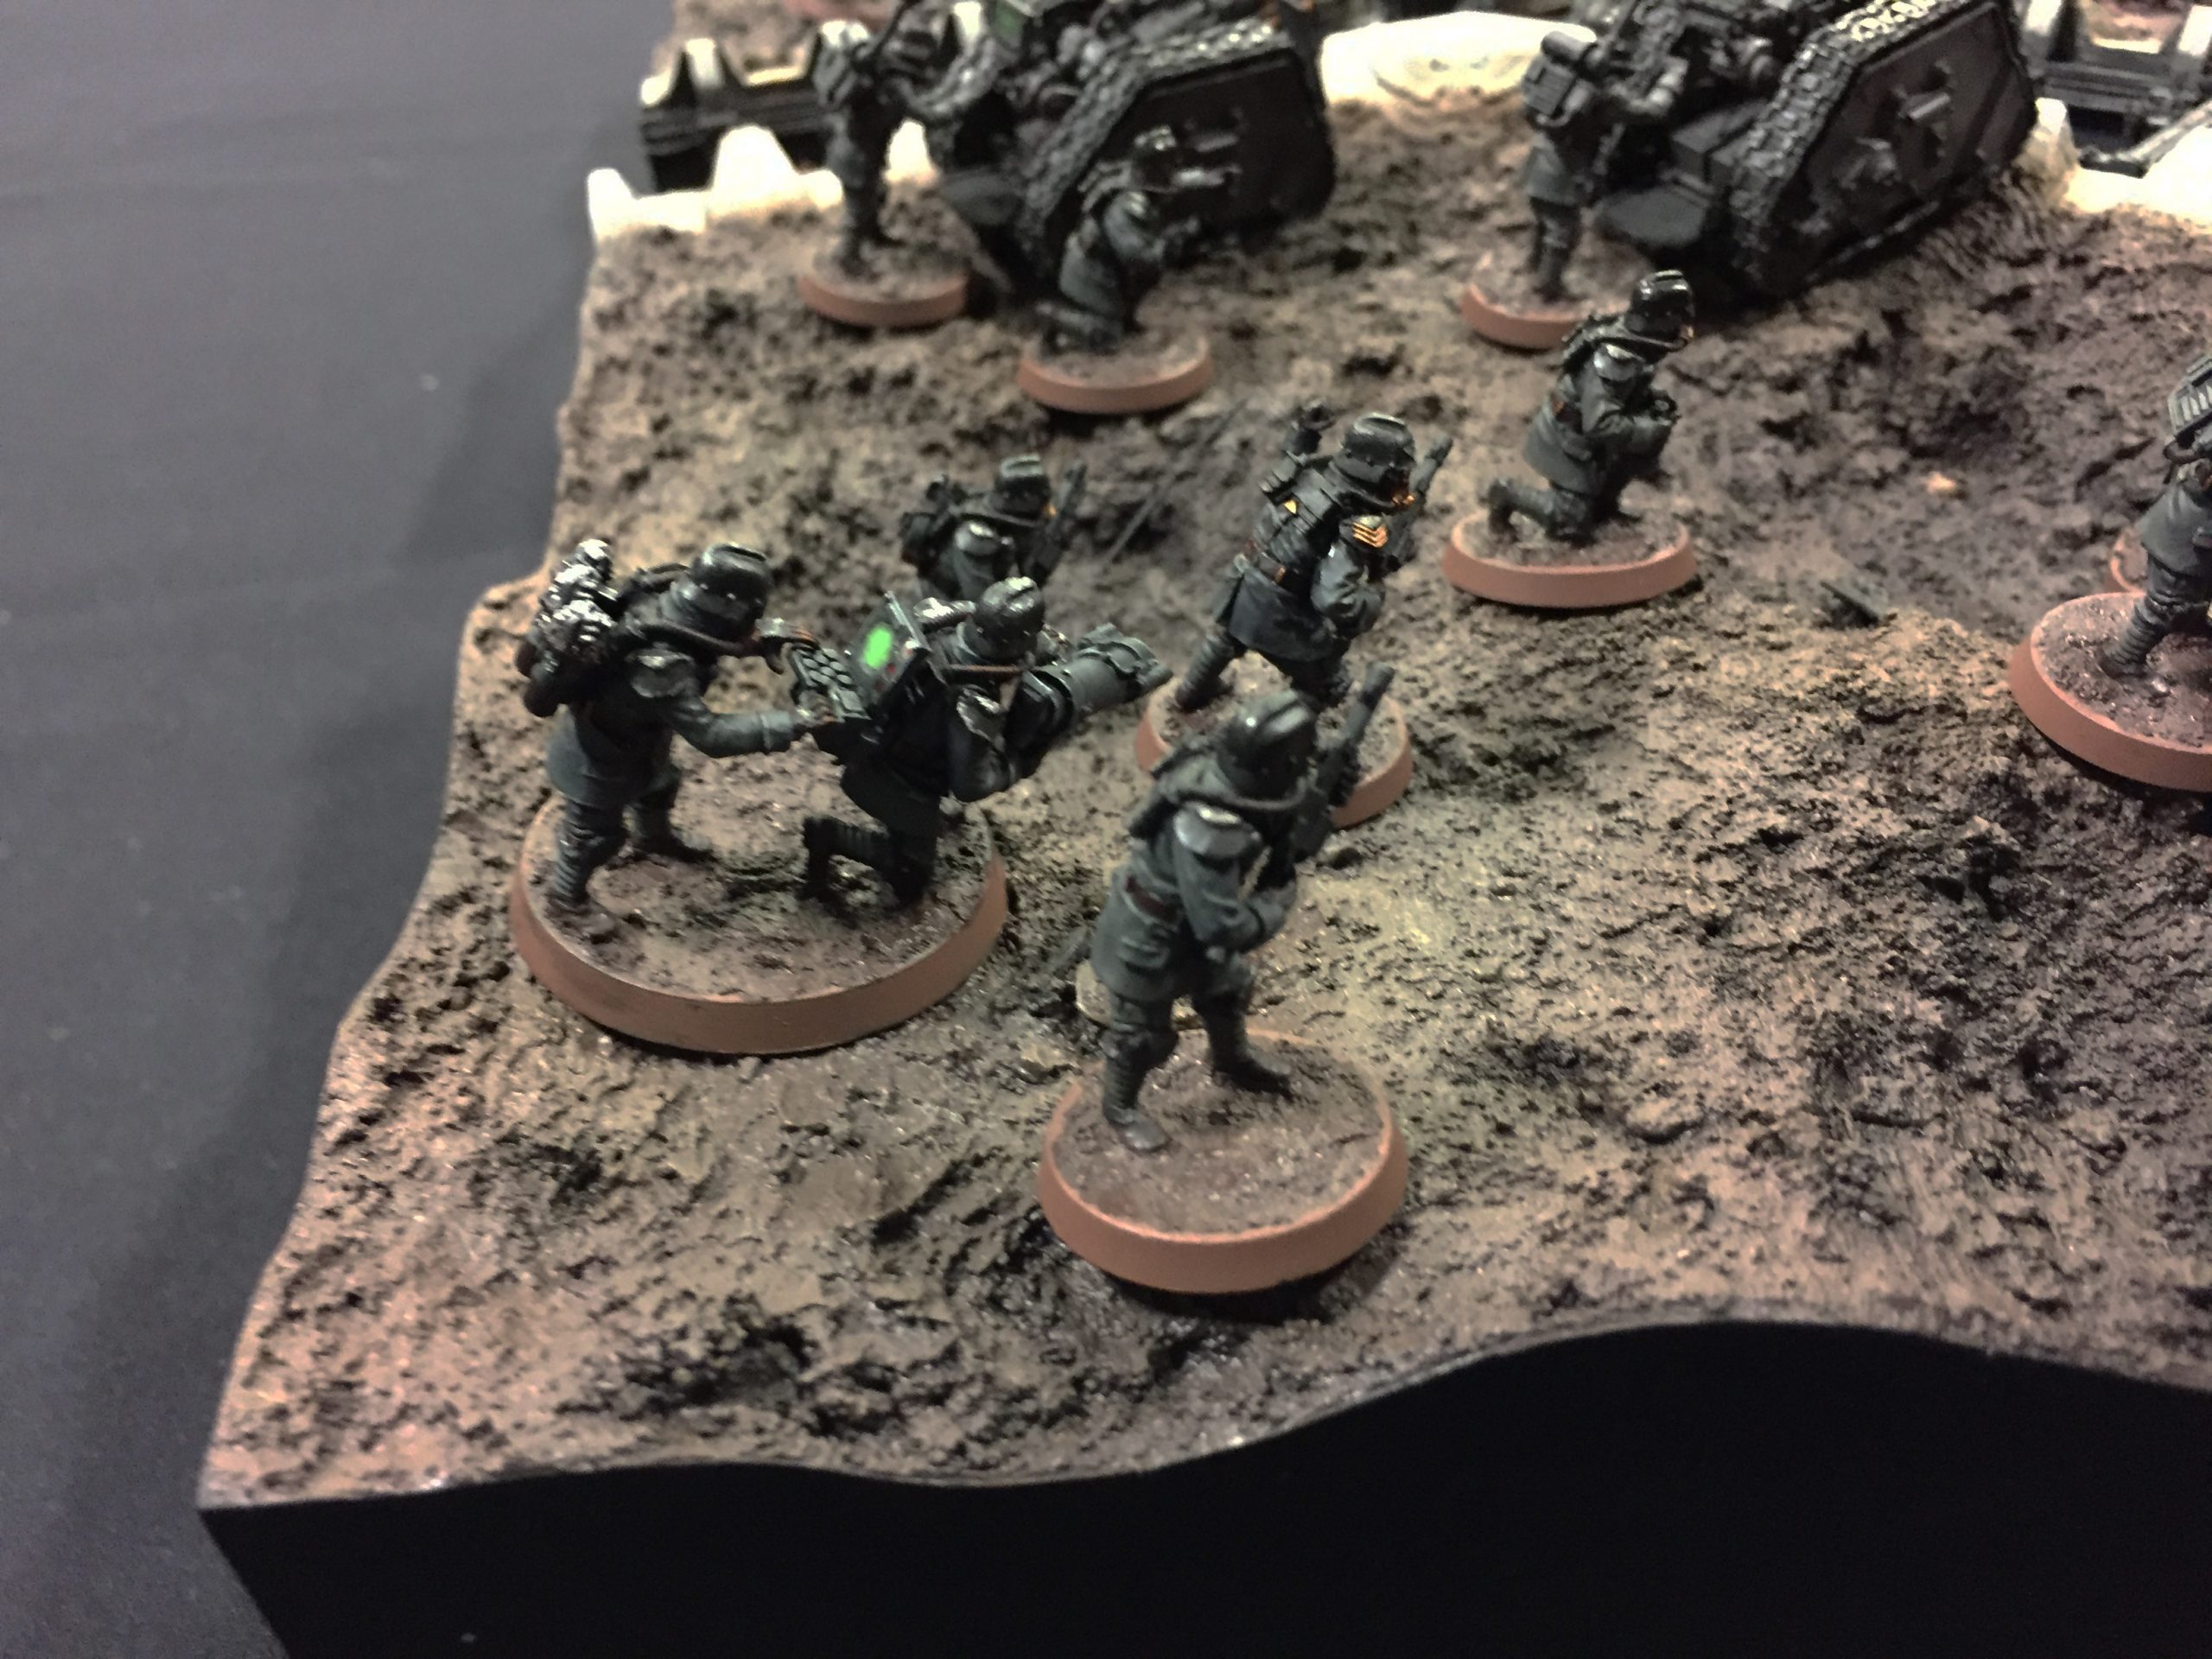
The mud was made from using household filler, sand and very small stones. Also apply some of the powder filler at the very top as this gives you a texture finer than the sand. I then sprayed PVA mixed with water to set it in place and did this several times, ensuring it dried between each layer.
For the painting I used an airbrush, putting down a colour which matches the GW Stirland Mud as this is what I use on the models. However to keep the board looking less flat I would have applied a dark wash in all the craters then applied a mix of green and brown washes all over the board, along with some brown oils (heavily thinned) in a few places too. I hope that helps.
I’ll hopefully be doing a full video tutorial on the build one day as it’s a goal on my Patreon page which you can check out here: https://www.patreon.com/beyondthetabletop.
Thanks for telling me your method, i’ll have to try it when I make some terrain.
Have you ever tried using a product similar to Vallejo’s Thick Mud or water effects? As it can make a quite nice effect with some crushed vegetation inside it or some puddles. And out of curiosity how many OOP Forgeworld kits do you have?
I’ve not used those products but I’m aware of them. It would certainly be an easier method, though possible more expensive. As for OOP kits. it’s hard to say. If you see my full army post you’ll be able to see some now OOP kits I imagine. I’ve collected a few bits over the years just by searching eBay and being patient for them to come up.
I think I’m in love with this. This is why I got into the Death Korps of Krieg. It’s just so cool to see things like this.
Thanks! It was a real labour of love. I hope to one day expand it out to a full board but i’ve yet to have the time to work on it. I’ve got too many other projects on the go.